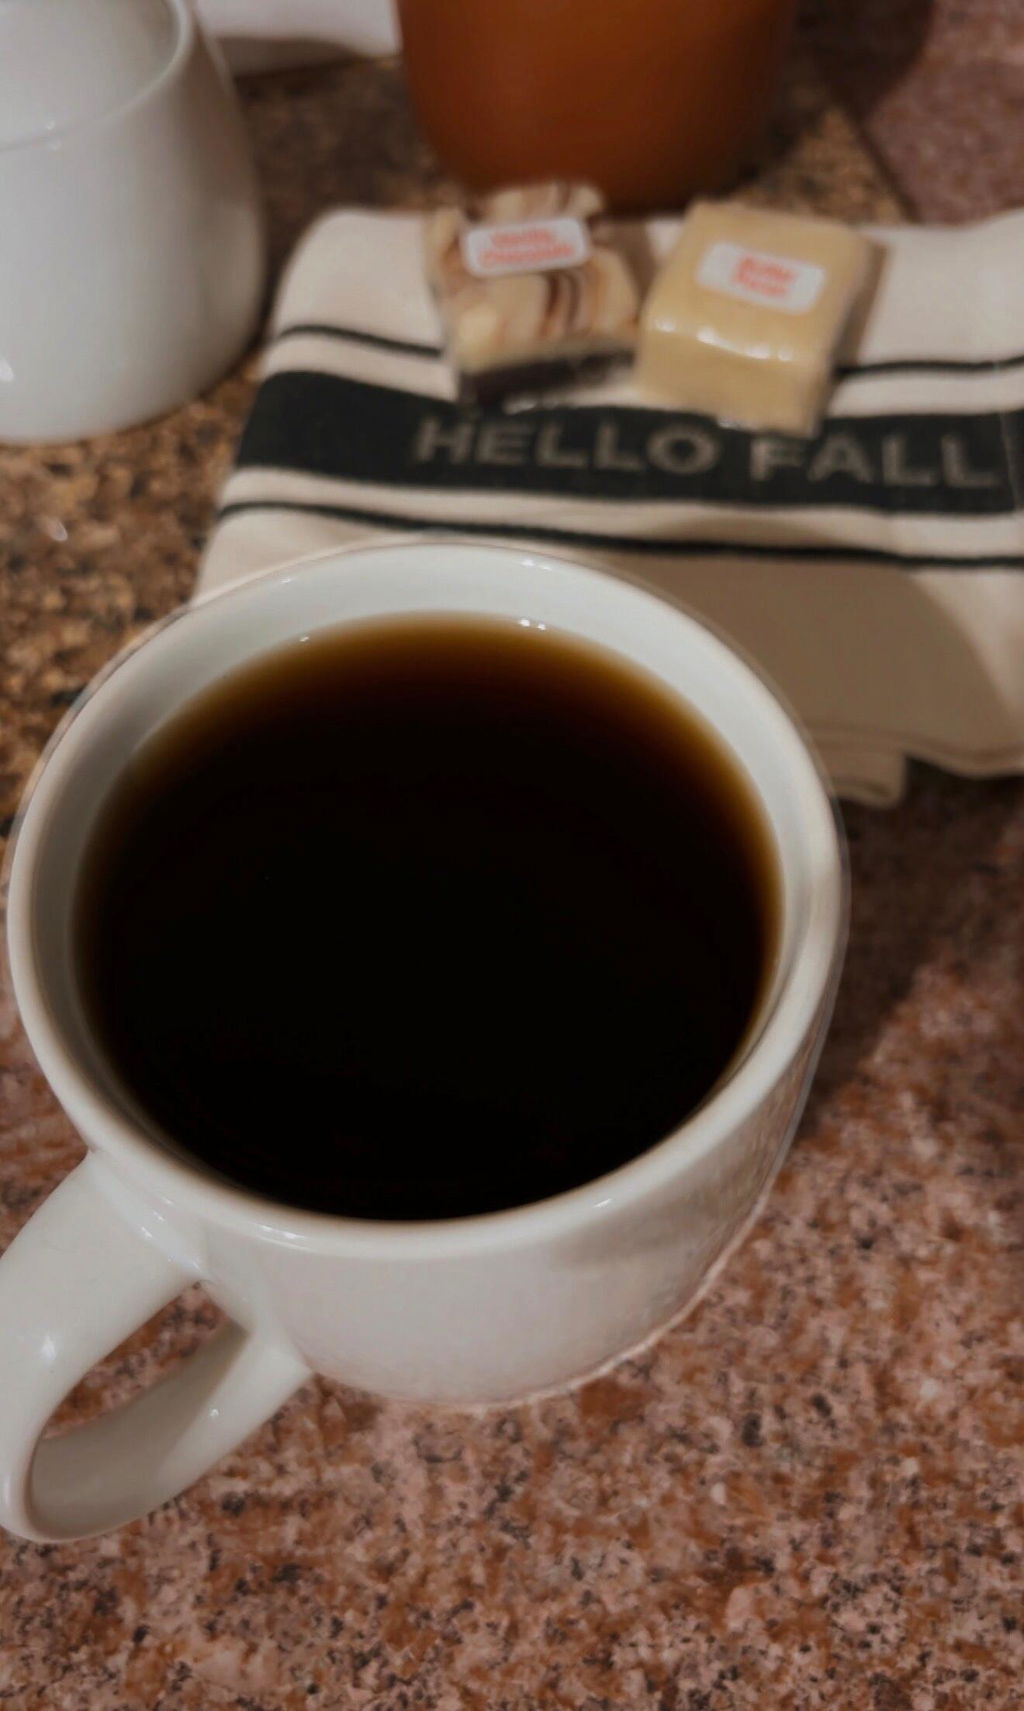
Your coffee maker breaks five minutes before a meeting. You are staying somewhere with a kettle but no gear. Or you bought good coffee and realized the only thing in the kitchen is a mug. You can still brew coffee without equipment that tastes like coffee, not a desperate caffeine experiment.
The basic idea is simple: ground coffee needs hot water and enough time to steep. A brewer mostly helps separate the grounds from the drink. Without one, you can let the grounds settle, strain them with something clean, or carefully pour around them. None of these methods will replace a dialed-in setup, but they can make a genuinely solid cup.
Start with the coffee and water you have
Use fresh coffee if you can, but do not overthink it. Ground coffee from a bag, a sample pack, or the last scoop in your cupboard will work. A medium or coarse grind is easiest because fine grounds take longer to sink and can leave more grit behind. If all you have is finely ground coffee, use it anyway. Just give it more settling time.
For one regular mug, start with 2 tablespoons of ground coffee and 10 to 12 ounces of hot water. This is a forgiving ratio, not a lab test. Add a little more coffee if you like a heavier cup, or dilute the finished coffee with hot water if it comes out too intense.
Water should be hot, not violently boiling. If you have a kettle, bring it to a boil and let it sit for about 30 seconds. If you are heating water in a microwave, stop when it is steaming hot and use care with the container. Great water helps, but ordinary drinking water is enough for an emergency brew.
Brew coffee without equipment in a mug
The mug method is the easiest option because it needs only a mug, a spoon, coffee, and water. It works much like a French press, minus the press.
Put the coffee grounds directly into the mug. Pour in just enough hot water to wet every ground, then wait about 30 seconds. This short pause lets trapped gas escape, which helps the water reach the coffee more evenly. Pour in the rest of the water and stir once or twice.
Let it steep for four minutes. At that point, most of the grounds will be floating or suspended near the top. Stir gently one more time, then wait another two minutes. The grounds will begin to settle at the bottom.
Drink slowly and stop before the last inch of coffee. That final sip is where the settled grounds live. It is not glamorous, but it works, and it is far better than skipping your morning cup.
Make the mug method taste cleaner
The biggest mistake is stirring constantly or drinking immediately. Both keep fine particles moving through the cup. Give the coffee time. If you can wait seven or eight total minutes, you will get a cleaner finish.
A second useful move is to break the crust after the first four minutes. That simply means gently stirring the floating layer of grounds so it can sink. Skim any foam or loose grounds from the surface with a spoon if you want, but it is optional.
Use a clean cloth as a simple filter
If you have a clean cotton cloth, dish towel, bandana, or even an untreated paper towel, you can strain the coffee after it steeps. This method can make a cleaner cup than drinking from the mug, but the material matters. Avoid anything scented, dusty, heavily dyed, or washed with strongly fragranced detergent.
First, steep your coffee in a mug, bowl, measuring cup, or heat-safe jar using the same ratio: 2 tablespoons of coffee for 10 to 12 ounces of water. Let it sit for four minutes.
Place the cloth over a second mug or container. Hold it securely, leaving a small dip in the center, and slowly pour the brewed coffee through. Go slowly. Pouring too fast can cause the cloth to collapse, spill, or clog with fine grounds.
A cloth catches more sediment than the mug method, though some oils will still pass through. That is usually a good thing if you enjoy a fuller body. The trade-off is cleanup. Rinse the cloth right away, because dried coffee residue is not fun to deal with later.
Try a two-cup pour when you have no filter
Two cups can do a surprising amount of work. Brew in the first cup, then carefully pour the coffee into the second cup while leaving the settled grounds behind. This is a simple decanting method, and it is especially useful in an office break room, hotel room, or borrowed kitchen.
Let the coffee steep for four minutes, stir it, and wait two more minutes for the grounds to settle. Then tilt the cup slowly and pour in one controlled stream. Stop early instead of trying to get every drop. Losing an ounce of coffee is better than sending the entire layer of sludge into your clean cup.
A spoon held at the lip of the first mug can help block floating grounds, but do not treat it like a filter. Its main job is to slow the pour and give you more control.
Adjust the cup instead of starting over
No-equipment brewing is flexible. If the coffee tastes weak, let the next batch steep longer or use more grounds. If it tastes bitter, shorten the steep by a minute, use slightly cooler water, or add a splash of hot water after brewing. Bitter coffee is often over-extracted, but very dark roasts can taste naturally more intense too.
If the cup tastes sour or thin, the water may not have been hot enough, the steep was too short, or the coffee-to-water ratio was too light. Try more coffee before making major changes. In a simple mug brew, small adjustments matter.
If you are dealing with a very fine grind, do not force a clean pour. Give it extra time to settle, then pour gently. A little texture is part of the deal. This is campfire logic, not a barista competition.
What not to use as a shortcut
Not every household item belongs in a coffee workaround. Avoid plastic containers that are not heat-safe, random fabric with unknown residue, and paper products that can dissolve or add a papery taste. Do not pour boiling water into thin glass that may crack.
Also skip the idea of eating or swallowing the grounds to save time. Coffee grounds are not a substitute for brewed coffee, and they are rough on the stomach. Let the water do the work.
For a better fallback setup, keep a favorite coffee in the cupboard and a clean mug in rotation. Z's Coffee sample packs are also an easy way to keep a few different coffees around without opening several full bags at once. But when equipment disappears, the method matters more than the accessories.
A good cup does not need a perfect setup
Brewing without gear is not about pretending a mug is a precision brewer. It is about knowing that coffee is still available to you when the routine gets interrupted. Use hot water, give the grounds time, pour patiently, and leave the last gritty sip behind. Your next proper brew can wait.