
Brewing espresso at home can feel frustrating when shots turn out bitter, sour, or weak despite your best efforts. You want that rich, balanced flavor you taste at your favorite coffee shop, but inconsistent results leave you wondering what went wrong. This guide delivers expert-backed techniques and precise parameters to help you master espresso brewing at home. You will learn the exact equipment, measurements, timing, and adjustments needed to pull delicious shots every single time.
Table of Contents
- What You Need: Essential Equipment And Ingredients
- Mastering The Espresso Grind And Dose
- Timing, Temperature, And Extraction: The Science Of Flavor
- Fine-Tuning And Troubleshooting Your Espresso Shots
- Explore Quality Coffee Blends And Espresso Essentials At Z’s Coffee
Key takeaways
| Point | Details |
|---|---|
| Ideal dose and grind | Use 18g of finely ground coffee with texture between powdered sugar and table salt for optimal extraction. |
| Temperature and timing | Brew at 200°F (93°C) for 25-30 seconds to balance acidity, sweetness, and minimize bitterness. |
| Target yield | Aim for approximately 36g of liquid espresso to achieve proper extraction ratio. |
| Fresh beans matter | Select beans roasted 7-21 days prior to brewing for peak flavor and aroma. |
| Equipment priority | Invest in a quality burr grinder first, as consistent grind size matters more than machine price. |
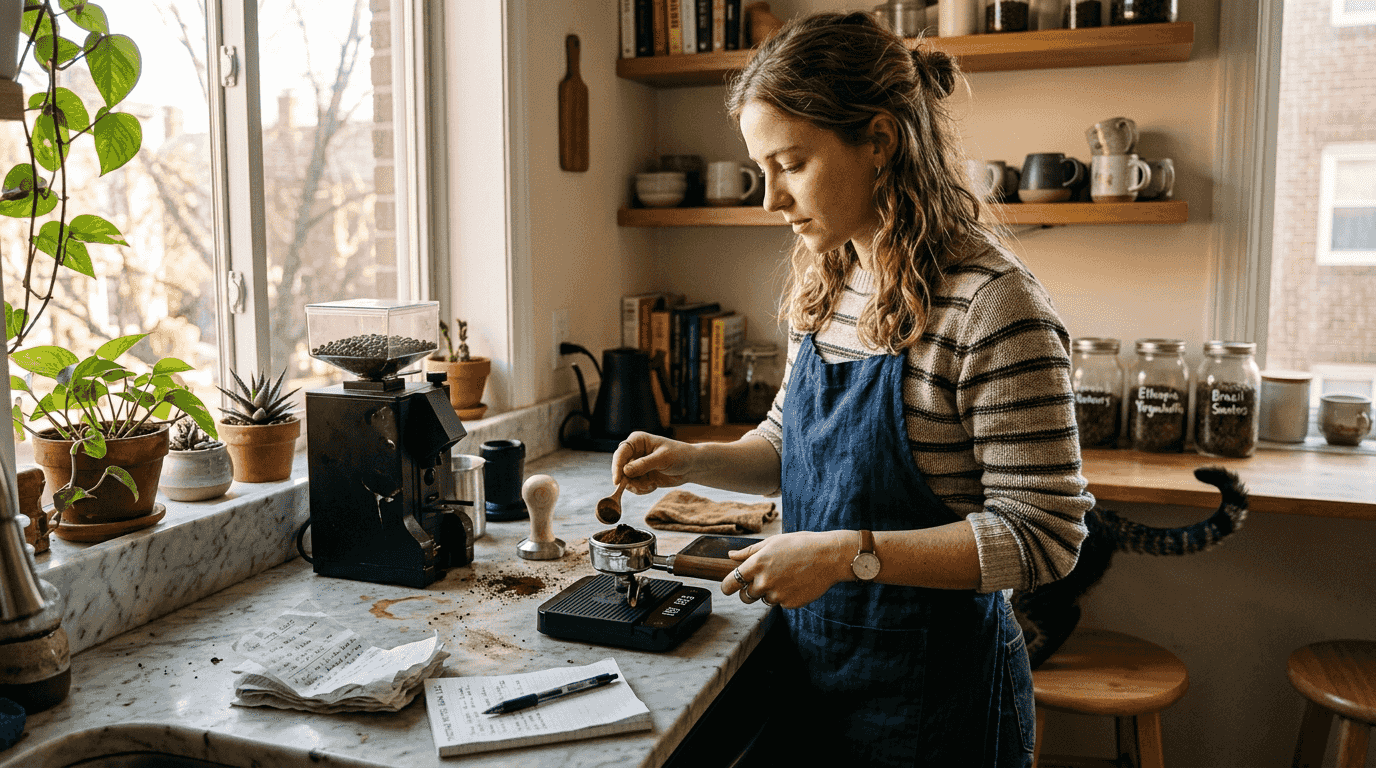
What you need: essential equipment and ingredients
Brewing exceptional espresso starts with the right tools and ingredients. You cannot compensate for poor equipment or stale beans with technique alone. Quality gear ensures consistency, while fresh coffee delivers the flavor potential you want to capture in every shot.
Your espresso machine should maintain stable temperature and pressure throughout extraction. Entry-level machines work fine if they hold steady heat and deliver consistent water flow. A burr grinder is essential for espresso, producing uniform particle size that allows water to extract flavor evenly. Blade grinders create inconsistent chunks and powder that lead to channeling and poor extraction.
A precision scale helps you measure both coffee dose and liquid yield accurately. Weighing your dose to 0.1g precision eliminates guesswork and lets you replicate successful shots. A quality tamper with flat base and comfortable grip ensures even puck density. Choose one that fits your portafilter basket diameter exactly.
Fresh coffee makes the difference between good and great espresso. The optimal freshness window is 7-21 days after roasting, when beans have degassed enough for stable extraction but retain peak flavor compounds. Starting with medium roast blends offers balanced sweetness and acidity, while dark roast options deliver bold, chocolatey notes. Avoid pre-ground coffee entirely, as it loses aromatics within minutes of grinding.
Here is what to prioritize when selecting equipment and beans:
| Equipment/Ingredient | Recommended Specification |
|---|---|
| Espresso Machine | Stable temperature control, 9 bar pressure, pre-infusion capability |
| Burr Grinder | Stepless or micro-step adjustment, minimal retention, consistent particle distribution |
| Scale | 0.1g precision, timer function, water-resistant |
| Tamper | Flat base, 58mm diameter (match basket), ergonomic handle |
| Coffee Beans | Single origin or blend, roasted 7-21 days prior, whole bean only |
Pro Tip: Invest more in your grinder than your espresso machine. A $300 grinder paired with a $400 machine outperforms a $700 machine with a $100 grinder every time. Consistent grind quality matters more than fancy machine features for home brewing success.
Mastering the espresso grind and dose
Grind size and dose quantity control how water flows through your coffee puck and determines extraction efficiency. Get these fundamentals right and you set yourself up for balanced, delicious shots. Miss the mark and even perfect timing cannot save your espresso.
The standard dose is 18g of finely ground coffee for a double shot. This amount fills a standard 58mm portafilter basket to proper depth and provides enough coffee bed for water to extract flavor compounds effectively. Some baskets accommodate 16-20g, so check your basket capacity and adjust accordingly.
Your grind texture should fall between powdered sugar and table salt. Too coarse and water rushes through too quickly, producing sour, weak shots. Too fine and water cannot penetrate the puck, resulting in bitter, over-extracted espresso or complete channeling. The particles should feel slightly gritty when rubbed between fingers, not powdery or granular.
Calibrating your grinder takes patience but pays off with consistent results. Start at a medium-fine setting and pull a test shot. If extraction finishes under 20 seconds, grind finer. If it exceeds 35 seconds or chokes the machine, grind coarser. Make small adjustments of one or two steps at a time, then pull another shot to evaluate.
Avoid these common dosing mistakes that sabotage your espresso:
- Eyeballing dose instead of weighing precisely on a scale
- Using yesterday’s ground coffee that has lost aromatics
- Overfilling the basket so the shower screen scrapes the puck
- Underfilling and leaving too much headspace for uneven saturation
- Tapping the portafilter sides to settle grounds, which creates density variations
Follow proper grinding and dosing techniques for your home setup. Grind directly into your portafilter basket or into a dosing cup, then transfer immediately. Distribute grounds evenly across the basket using your finger or a distribution tool. This eliminates high and low spots that cause channeling.
Pro Tip: Weigh your dose in the portafilter basket before tamping. Tare your scale with the empty portafilter, add grounds until you hit exactly 18.0g, then distribute and tamp. This workflow ensures perfect consistency shot after shot and helps you dial in faster when switching beans.
Timing, temperature, and extraction: the science of flavor
Water temperature and extraction duration determine which flavor compounds dissolve into your espresso. Understanding this relationship lets you control taste with precision and avoid the sour or bitter extremes that plague inconsistent shots.
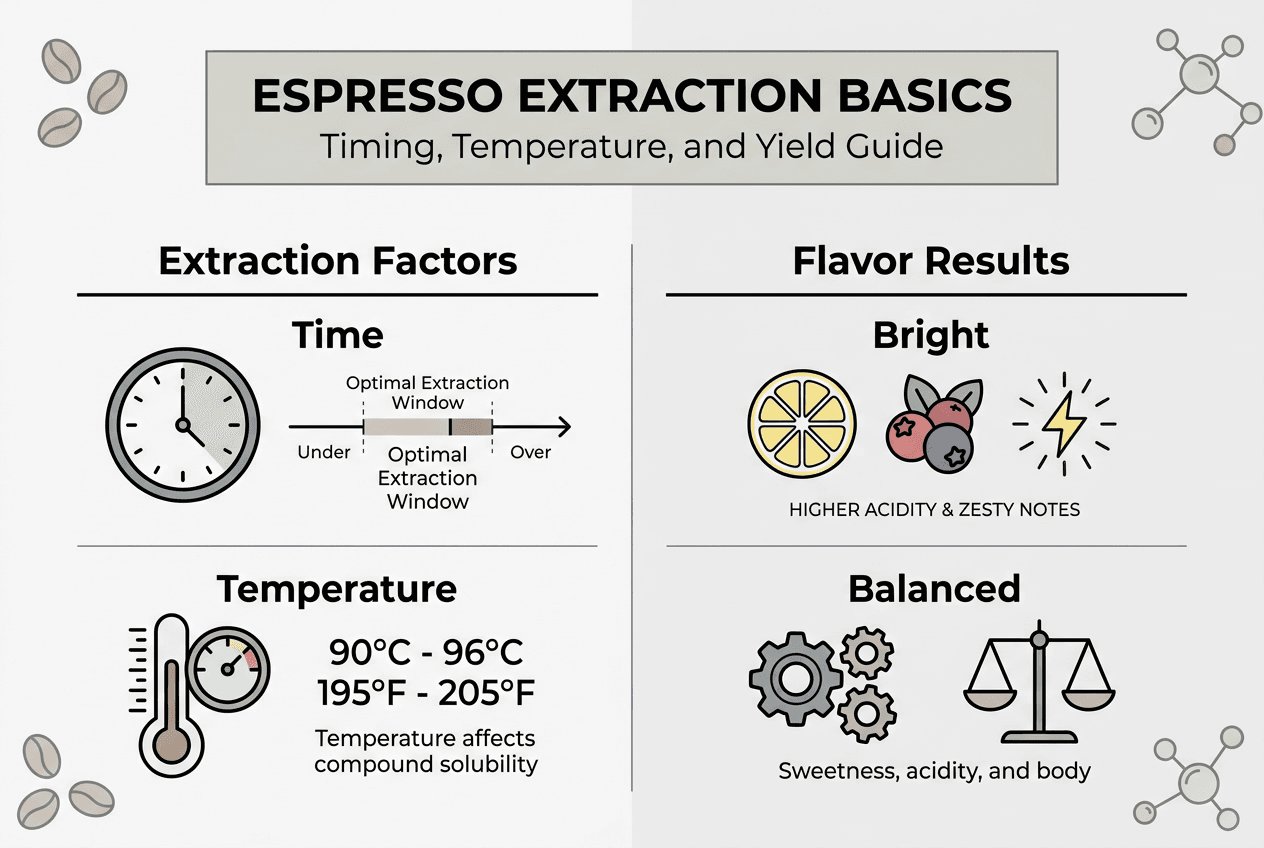
Water at 200°F (93°C) extracts espresso optimally, hot enough to dissolve desirable compounds but not so hot that it pulls excessive bitterness. Most machines target this range automatically, but you can verify with a thermometer at the group head. Temperatures below 195°F produce under-extracted, sour shots. Above 205°F risks scalding the coffee and emphasizing harsh flavors.
Extraction unfolds in three distinct phases that build your espresso’s flavor profile. Acids dissolve first in the 0-10 second window, contributing brightness and fruit notes. Sugars follow during seconds 10-20, adding sweetness and body. Bitter compounds emerge after 20 seconds, bringing depth but risking astringency if extraction continues too long.
The 25-second window captures balanced flavor by including enough time for acids and sugars while minimizing bitter extraction. Shots finishing between 25-30 seconds typically taste best, assuming proper dose, grind, and temperature. Here is how to brew within this ideal timeframe:
- Start your timer when you activate the pump, not when liquid appears
- Watch for initial drips around 5-8 seconds as the puck saturates
- Look for steady flow forming a thick stream by 10 seconds
- Monitor the color shift from dark to golden blonde around 20 seconds
- Stop extraction when you reach 36g yield or hit 30 seconds maximum
- Taste immediately to evaluate balance and make adjustments
The relationship between time segments and flavor becomes clear when you examine extraction chemistry:
| Time Segment | Compounds Extracted | Flavor Contribution | | — | — | | 0-10 seconds | Organic acids, light aromatics | Brightness, citrus, fruit notes | | 10-20 seconds | Sugars, lipids, melanoidins | Sweetness, body, caramel | | 20-30 seconds | Bitter compounds, tannins | Depth, chocolate, slight bitterness | | 30+ seconds | Excessive bitterness, astringency | Harsh, unpleasant flavors |
Hitting the 25-second extraction window captures the best of all three phases while minimizing harsh bitter compounds that emerge during prolonged contact time.
Your target yield of approximately 36g liquid creates a 1:2 brew ratio with an 18g dose. This ratio balances concentration and flavor clarity for most espresso styles. Some prefer shorter ristretto shots around 1:1.5 ratio for intensity, while others pull longer lungos at 1:2.5 for gentler flavor. Start with the standard 1:2 ratio and adjust based on your taste preferences and the specific beans you are using.
Fine-tuning and troubleshooting your espresso shots
Even with proper equipment and technique, you will encounter shots that miss the mark. Learning to diagnose issues by taste and make targeted adjustments separates consistent home baristas from frustrated ones. Your palate provides the feedback you need to dial in perfect espresso.
Common espresso problems have identifiable causes and straightforward solutions:
- Sour shots indicate under-extraction from too coarse grind, low temperature, or insufficient time
- Bitter espresso results from over-extraction due to too fine grind, high temperature, or excessive duration
- Weak, watery shots suggest too coarse grind, insufficient dose, or channeling from poor distribution
- Harsh, astringent flavor points to extreme over-extraction or stale, oxidized beans
- Inconsistent shots between pulls signal grinder retention issues or unstable machine temperature
When your shot tastes off, make one adjustment at a time so you can identify what works. Follow this systematic approach to dial in your espresso:
- Taste your shot and identify the primary flaw (sour, bitter, weak, harsh)
- Check your fundamentals: dose weight, distribution, tamp pressure, and timing
- Adjust grind size first, as this has the biggest impact on extraction
- Pull another shot and evaluate whether you moved in the right direction
- Continue making small grind adjustments until you hit the 25-30 second sweet spot
- Fine-tune dose or temperature only after grind is optimized
Your taste buds tell you everything you need to know about extraction quality. Properly extracted espresso tastes balanced, with sweetness dominating and acidity providing brightness without sourness. You should detect complexity and layered flavors rather than a single overwhelming note. The finish should be clean and pleasant, not harsh or mouth-puckering.
Tamp pressure matters less than most beginners think. Apply firm, level pressure of about 30 pounds, which feels like pressing down until the coffee stops compressing. Inconsistent tamping creates uneven density that causes channeling, but excessive force does not improve extraction once the puck is compressed.
Pro Tip: Keep a simple brewing journal noting date, bean details, grind setting, dose, yield, time, and taste notes for each shot. This record helps you spot patterns, remember successful settings when you switch beans, and troubleshoot problems faster. A basic notebook or phone app works perfectly for tracking your espresso journey.
Explore quality coffee blends and espresso essentials at Z’s Coffee
Now that you understand the techniques for brewing exceptional espresso, the next step is sourcing beans that showcase your newfound skills. Z’s Coffee offers carefully curated coffee blends designed for home espresso brewing, with options spanning medium roasts for balanced sweetness to darker profiles for bold intensity.

Each blend arrives roasted to order within the optimal freshness window you learned about earlier. You can explore single origins that highlight specific flavor characteristics or try blends crafted for espresso’s concentrated extraction style. The selection helps you discover which coffee profiles match your taste preferences and brewing approach. Visit the Z’s Coffee homepage to browse the full collection and find your next favorite espresso beans.
How fresh should espresso beans be for optimal brewing?
How fresh should espresso beans be for optimal brewing?
Beans roasted 7-21 days prior deliver peak flavor for espresso. This window allows sufficient degassing while preserving aromatic compounds. Beans younger than 7 days may produce unstable extractions with excessive crema, while beans older than 21 days lose complexity and brightness.
What grind size is best for espresso?
Espresso requires a fine grind with texture between powdered sugar and table salt. This consistency allows water to extract flavor compounds in 25-30 seconds without channeling. Coarser grinds cause fast, under-extracted shots, while finer grinds risk choking your machine or producing bitter espresso.
Why is extraction time important?
Extraction time controls which flavor compounds dissolve into your espresso. The first 10 seconds capture acids for brightness, seconds 10-20 extract sugars for sweetness, and beyond 20 seconds pulls bitter compounds. Stopping around 25-30 seconds balances all three elements for optimal taste.
How can I improve bitter or sour espresso shots?
Adjust your grind size first when shots taste off. Coarsen the grind if espresso tastes bitter or takes longer than 30 seconds. Grind finer if shots taste sour or finish under 25 seconds. Make small adjustments and taste after each change until you achieve balanced flavor.
Is a burr grinder necessary?
Yes, burr grinders produce the uniform particle size essential for consistent espresso extraction. Blade grinders create uneven chunks and powder that cause channeling and unpredictable results. Investing in a quality burr grinder improves shot quality more than any other equipment upgrade.