TL;DR:
- Brewing high-quality coffee at home on a budget is achievable with manual tools like a French press, AeroPress, or pour-over dripper. Proper technique, including consistent ratios, fresh grinding, and equipment cleaning, significantly improves flavor, often more than expensive beans or machines. A setup costing under $100 can rival café-quality coffee when focusing on right gear and proper brewing practices.
Brewing café-quality coffee at home on a budget is fully achievable with the right manual tools and a few proven techniques. This guide to brewing coffee on a budget covers everything from choosing a French press, AeroPress, or pour-over dripper to grinding fresh beans and measuring precise ratios with a digital scale. A complete manual setup costs under $50–$100, which means you stop paying $5–$7 per cup at a café and start producing the same quality in your own kitchen. The key is knowing where to spend and where to skip.
What does a guide to brewing coffee on a budget actually cover?
Budget-friendly coffee brewing, also called manual or low-cost home brewing, is the practice of producing high-quality coffee using affordable, non-electric equipment and smart technique. The specialty coffee world has long known that a $25 French press and a $35 burr grinder outperform a $200 automatic drip machine when the technique is right. You do not need expensive gear. You need the right gear, used correctly.
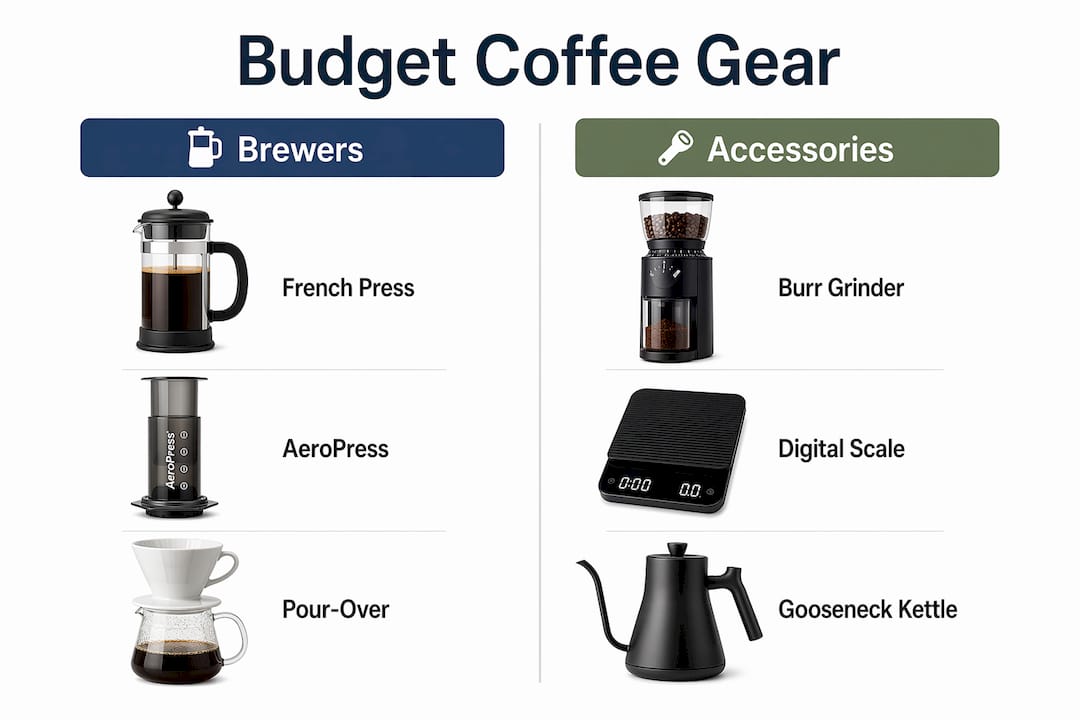
The three core tools that define this approach are the French press, the AeroPress, and the pour-over dripper. Each brews differently, costs between $20–$40, and produces a distinct flavor profile. Pair any of them with a manual burr grinder and a digital kitchen scale, and you have a setup that matches what most specialty cafés use at the bar level.
What gear do you actually need and what does it cost?
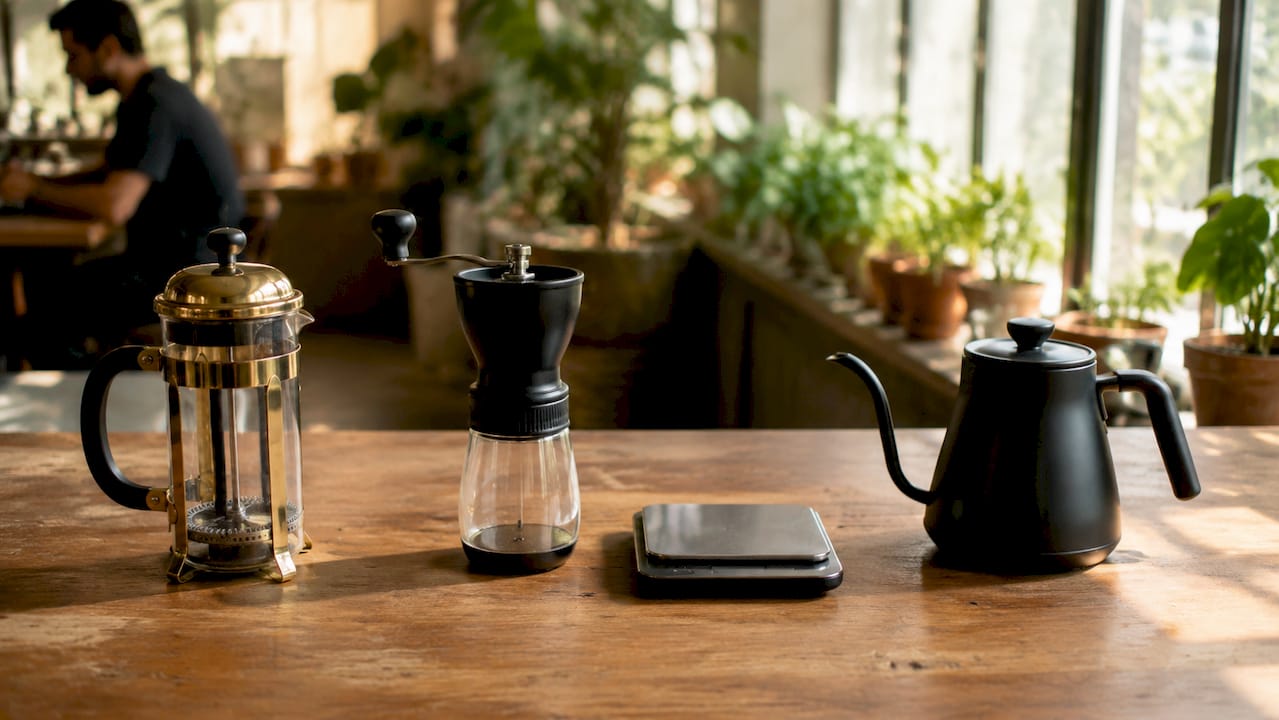
A full budget brewing kit breaks down into four categories: the brewer, the grinder, the scale, and the kettle. Each serves a specific function, and skipping any one of them costs you flavor or consistency.
| Gear | Estimated Cost | Key Feature |
|---|---|---|
| French Press | $20–$35 | No filters needed, full-bodied brew |
| AeroPress | $30–$40 | Versatile, fast, travel-friendly |
| Pour-Over Dripper | $10–$25 | Clean, bright cup, paper filter |
| Manual Burr Grinder | $20–$40 | Uniform grind, freshness control |
| Digital Kitchen Scale | Under $15 | Ratio precision, repeatable results |
| Gooseneck Kettle | $15–$30 | Controlled pour speed |
The French press is one of the most cost-effective brewers available because it requires no ongoing filter purchases. It suits medium to bold roast profiles and produces a rich, full-bodied cup. The AeroPress costs slightly more but offers more flexibility in grind size and brew time. Pour-over drippers like the Hario V60 or Melitta start under $15 and produce a cleaner, brighter cup.
The grinder is the single most impactful purchase in any budget setup. A manual burr grinder under $40 outperforms pre-ground coffee from most grocery stores in flavor clarity. Burr grinders produce uniform particle sizes, which means even extraction and no bitter or sour notes from inconsistent grounds. Blade grinders, by contrast, chop unevenly and should be avoided.
Pro Tip: If you can only upgrade one thing in your setup, buy the grinder first. Fresh, evenly ground coffee transforms even a $10 bag of beans into something genuinely good.
A digital kitchen scale under $15 gives you the consistency that separates a repeatable great cup from a guessing game. The standard brewing ratio is 1:15 to 1:17, meaning 15g of coffee to 240g of water. That precision prevents waste and locks in flavor every time. You can learn more about why this matters in Zscoffee’s guide to precise brewing.
How do you brew with a french press, AeroPress, or pour-over?
Each method has a specific process that maximizes what the equipment does well. Following these steps consistently is what separates a good cup from a great one.
French press: step by step
- Grind beans coarsely, similar to coarse sea salt texture.
- Add 15g of coffee per 240g of water to the press.
- Pour hot water at 195–205°F (just off the boil) over the grounds.
- Stir gently, place the lid on, and steep for 4 minutes.
- Press the plunger slowly and pour immediately to stop extraction.
The French press produces a rich, textured cup because the metal mesh filter allows natural oils to pass through. Letting it sit after pressing causes over-extraction and bitterness, so pour right away.
AeroPress: step by step
- Grind beans to a medium-fine consistency, similar to table salt.
- Place a paper filter in the cap and rinse it with hot water to remove paper taste.
- Add 15g of coffee and pour 30g of water first for the bloom phase. Wait 30 seconds.
- Add the remaining water to reach 240g total.
- Stir, attach the plunger, and press down slowly over 30–40 seconds.
Pour-over: step by step
- Grind beans to medium consistency, similar to granulated sugar.
- Place a paper filter in the dripper and rinse it thoroughly.
- Add 15g of coffee and pour 30g of water to saturate the grounds. Wait 30 seconds for the bloom.
- Pour the remaining water in slow, circular passes, keeping the water level steady.
- Total brew time should be 3–4 minutes.
| Method | Grind Size | Brew Time | Flavor Profile |
|---|---|---|---|
| French Press | Coarse | 4 minutes | Rich, full-bodied |
| AeroPress | Medium-fine | 1–2 minutes | Smooth, concentrated |
| Pour-Over | Medium | 3–4 minutes | Clean, bright |
The bloom phase applies to all three methods. Blooming the grounds by saturating them with a small amount of water and waiting 30 seconds releases trapped CO2 gases. This improves extraction and reduces sourness, especially with budget beans that may be less fresh.
Pro Tip: The bloom phase costs you nothing and adds 30 seconds. It is the single easiest way to improve flavor without changing your beans or equipment.
For a deeper look at manual brewing methods, Zscoffee has a full breakdown of how each technique works and when to use it.
How do you get better flavor from budget beans?
The biggest flavor gains in budget brewing come from technique, not from spending more on beans. Switching from pre-ground to freshly ground beans is the single largest improvement most home brewers can make. Grinding immediately before brewing preserves volatile aromatic compounds that dissipate within minutes of grinding.
Water quality is the second most overlooked variable. Coffee is over 98% water, and filtered or bottled water produces noticeably cleaner, brighter cups compared to tap water. Tap water with high mineral content or chlorine masks subtle flavors in even good beans. A basic pitcher filter like a Brita costs under $30 and pays for itself quickly.
Here are the most effective affordable coffee brewing tips for flavor improvement:
- Grind fresh every time. Pre-ground coffee loses flavor within 15–30 minutes of grinding.
- Adjust grind size to fix taste problems. Bitter coffee means the grind is too fine or the brew time is too long. Sour coffee means the grind is too coarse or the brew time is too short.
- Rinse paper filters. Unrinsed filters add a papery taste that competes with the coffee’s natural flavor.
- Use filtered water. Tap water with chlorine or heavy minerals flattens flavor.
- Keep your ratio consistent. Eyeballing coffee amounts leads to inconsistent results. Weigh every time.
- Store beans correctly. Keep whole beans in an airtight container away from light and heat. Do not freeze them unless buying in bulk.
Cheap beans can be transformed through grind size adjustments and proper blooming into a balanced, enjoyable cup. You do not need a $20-per-bag single-origin roast to brew something worth drinking. Technique closes most of that gap.
Pro Tip: Buy whole beans from a local roaster’s “house blend” or grocery store bulk section. These are often fresher and cheaper than name-brand pre-ground bags.
How do you fix common brewing problems and keep gear lasting?
Flavor problems in budget brewing almost always trace back to one of three causes: grind size, water temperature, or dirty equipment. Identifying which one is causing the issue takes less than a minute.
- Bitter taste: Grind is too fine, water is too hot, or brew time is too long. Coarsen the grind by one step and reduce steep time by 30 seconds.
- Sour or weak taste: Grind is too coarse, water is too cool, or brew time is too short. Tighten the grind and extend contact time.
- Flat, dull flavor: Equipment needs cleaning or water quality is poor. Clean all gear and switch to filtered water.
- Inconsistent results: You are not measuring. Add a digital scale to your process immediately.
Proper cleaning of French press mesh screens and AeroPress components prevents oil buildup that causes bitterness and extends gear life significantly. Rinse all parts with hot water after every use. Do a full soap wash every 3–5 uses. French press screens can be disassembled and scrubbed with a small brush to remove trapped grounds.
Maintenance is a hidden factor in long-term brewing success. Neglected equipment degrades flavor gradually, and most brewers blame their beans before checking their gear. A clean French press tastes noticeably better than a dirty one, even with the same beans and water.
One specific note for Moka pot users: do not tamp the grounds in the filter basket. Leveling them gently with a finger or a light shake is the correct technique. Tamping increases pressure beyond what the pot is designed for and produces a bitter, over-extracted result.
Key takeaways
Budget coffee brewing delivers café-quality results when you prioritize a manual burr grinder, consistent ratios, and clean equipment over expensive beans or electric machines.
| Point | Details |
|---|---|
| Full setup under $100 | A French press, burr grinder, scale, and kettle together cost $50–$100. |
| Grinder is the top priority | A manual burr grinder under $40 improves flavor more than any other single purchase. |
| Use the 1:15 to 1:17 ratio | Weighing 15g coffee to 240g water produces consistent, repeatable results every brew. |
| Bloom phase is free and effective | Saturating grounds for 30 seconds before full brewing reduces sourness and improves extraction. |
| Clean gear, better flavor | Regular cleaning of French press screens and AeroPress parts prevents bitterness and extends equipment life. |
Why i think technique beats gear every time
I have brewed coffee with a $20 French press and a $35 hand grinder that outperformed setups costing ten times as much. The difference was never the equipment. It was the ratio, the grind size, and the water temperature. Most people who say budget coffee tastes bad are using a blade grinder, eyeballing their grounds, and pouring water straight from a boiling kettle. Fix those three things and the cup changes completely.
The counterintuitive truth about budget brewing is that the constraints actually make you better. When you cannot rely on a $500 machine to compensate for sloppy technique, you learn what actually drives flavor. You start noticing what a 30-second bloom does. You feel the difference between a coarse and medium grind. That knowledge transfers to every brewing method you ever try.
My personal setup for years was a Hario Skerton hand grinder, a Bodum Chambord French press, and a $12 kitchen scale. Total cost was under $80. The coffee I made with that setup was better than most café drip coffee I paid $4 for. The only upgrade that genuinely moved the needle was switching to filtered water. That alone added clarity I had not expected from such a simple change.
If you are just starting out, do not overthink the beans. Buy something fresh and whole from a local roaster or a reputable online source. Focus on the process. Zscoffee’s flavor enhancement guide covers this well if you want to go deeper on the bean and technique relationship.
— zachary
Start brewing better coffee with Zscoffee
Zscoffee carries a range of products built for exactly this kind of setup, from affordable whole bean coffees to brewing accessories that fit a tight budget without cutting corners on quality.

If you want to try cold brew at home without any special equipment, Zscoffee’s cold brew coffee is a ready-to-brew option that fits the budget-conscious approach perfectly. For a broader look at what is available, the full coffee and tea collection includes beans, accessories, and brewing gear suited to every method covered in this guide. Your next great cup is closer and cheaper than you think.
FAQ
What is the cheapest way to brew good coffee at home?
The cheapest effective setup is a French press paired with a manual burr grinder and a digital kitchen scale. This combination costs under $80 total and produces consistently good coffee with no ongoing filter costs.
What coffee-to-water ratio should i use?
The standard ratio is 1:15 to 1:17, meaning 15g of coffee per 240g of water. Using a digital scale to measure both produces consistent results and prevents wasted beans.
Does water quality really affect coffee taste?
Yes. Coffee is over 98% water, and filtered or bottled water produces noticeably cleaner flavor compared to tap water with chlorine or heavy minerals. A basic pitcher filter is the most cost-effective fix.
Why does my budget coffee taste bitter?
Bitterness usually means the grind is too fine, the water is too hot, or the brew time is too long. Coarsen the grind by one step and reduce steep time by 30 seconds to correct it.
Is a burr grinder worth it on a budget?
A manual burr grinder under $40 is the single most impactful purchase in a budget setup. It produces uniform particle sizes that extract evenly, which eliminates the bitter and sour notes that blade grinders cause.