TL;DR:
- Using a coffee scale ensures precise dosing and consistent brew ratios, significantly improving coffee quality. It eliminates the inaccuracies of volume and timing measurements, especially critical for espresso shots. Incorporating a high-quality scale into your routine helps troubleshoot, replicate, and elevate your brewing results reliably.
A single gram of coffee separates a balanced espresso from one that tastes sour or burnt. That is not a metaphor. It is the kind of variable that quietly ruins shots for home brewers who are otherwise doing everything right. If you have ever pulled what looked like a perfect espresso and then wondered why it tasted flat or harsh, imprecise dosing is almost certainly the culprit. Understanding why use a coffee scale comes down to one simple truth: weight does not lie, and volume always does.
Table of Contents
- How a coffee scale improves brewing precision
- Why espresso demands a coffee scale for perfect shots
- Consistent coffee-to-water ratios with scales across brewing methods
- Key features for an effective coffee scale and common pitfalls
- Practical tips for incorporating a coffee scale into your brewing routine
- Why relying on just a timer or scoop limits your coffee’s potential
- Explore high-quality coffee and gear at Z’s Coffee
- Frequently asked questions
How a coffee scale improves brewing precision
Volume measurements feel intuitive. You scoop, you brew, you drink. The problem is that 1 tablespoon of coffee can weigh anywhere between 5 and 10 grams depending on the roast level and how fine the grind is. That means two identical tablespoons of coffee could produce wildly different brew strengths. This is why volume is an unreliable foundation for any serious brewing.
Mass does not have this problem. A gram is a gram, whether you are working with a dark Ethiopian roast or a light Kenyan natural. When you weigh your coffee instead of scooping it, understanding coffee extraction basics becomes actionable because you can finally control the inputs precisely.
Here is what precision weighing gives you that volume never can:
- Consistent dose every session, regardless of how much you settled the bag or how you scooped
- Reliable ratio control, so a 1:15 recipe actually means 15 grams of water per gram of coffee every single time
- Easier troubleshooting, because when flavor changes, you can rule out dosing as the variable
- Repeatable recipes, whether you are dialing in a new bag of beans or revisiting a favorite
The importance of measuring coffee by weight is not about perfectionism. It is about removing one of the biggest hidden sources of inconsistency from your daily routine.
Why espresso demands a coffee scale for perfect shots
Espresso is where imprecision becomes immediately painful. A standard specialty recipe calls for 18 grams of ground coffee in, 36 grams of liquid espresso out, pulled over 25 to 30 seconds. Every part of that equation matters. Disturb one element and the others shift in ways that directly affect taste.
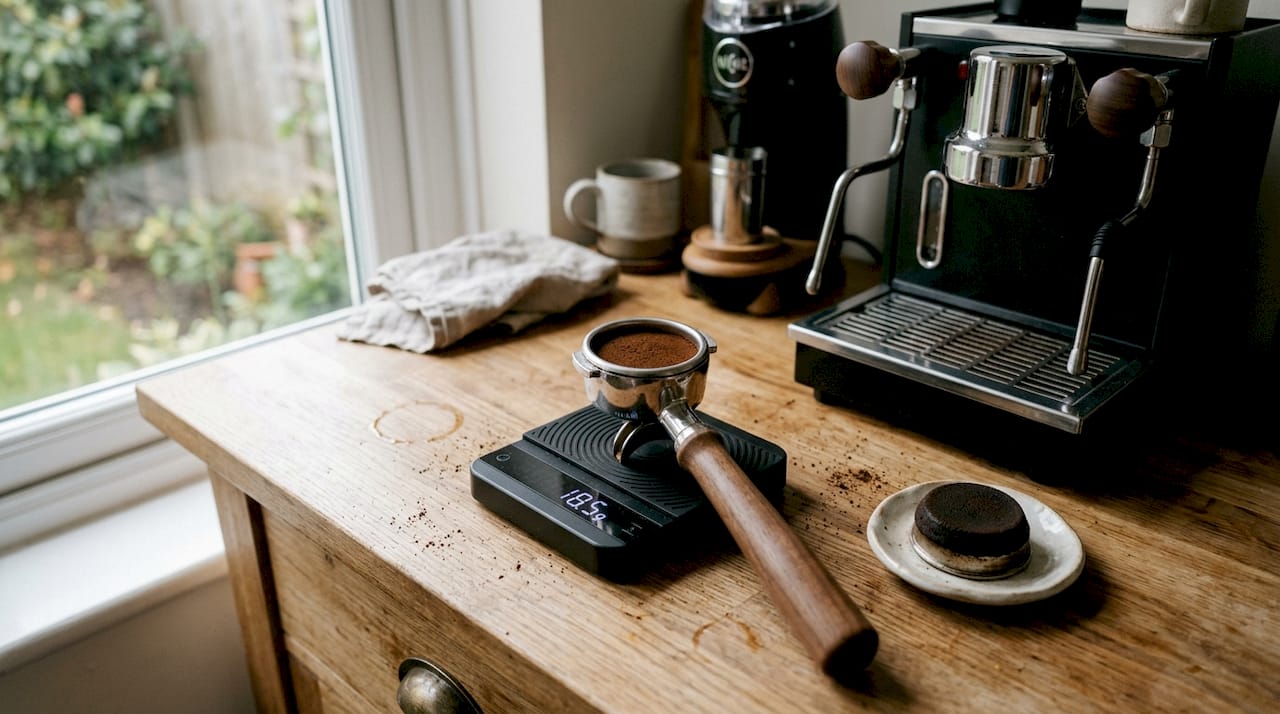
A 1 gram dosing error shifts extraction time by 2 to 3 seconds, which is enough to push the shot toward sour under-extraction or bitter over-extraction. That is not a small margin. That is the difference between a shot you want to drink again and one you pour down the drain.
This is why weight determines brew ratio more reliably than timing alone. A timer tells you how long the pump ran. It cannot tell you how much liquid actually ended up in the cup. A scale can, and for espresso brewers at home, that distinction matters enormously.
What makes a scale effective for espresso specifically:
- 0.1 gram resolution to catch small dose differences that visibly affect shot quality
- Fast response time, ideally under 0.3 seconds, to track a fast espresso pour in real time
- Built-in timer so you are not juggling a separate device while monitoring weight
- Low-profile design to fit under a portafilter or cup without blocking the drip tray
If you want to sharpen your technique further, this espresso brewing guide walks through the full workflow from grind to pour.
Consistent coffee-to-water ratios with scales across brewing methods
Espresso gets a lot of attention for precision, but every brew method benefits from scale use. Pour-over, French press, Aeropress, moka pot: each has a recommended coffee-to-water ratio, and none of those ratios behave consistently when you are relying on volume measurements.
Water volume markings on carafes and kettles are often inaccurate. They can be off by 20 to 30 milliliters depending on the vessel. When you weigh water on a scale instead, you know exactly what went in. Using measured coffee-to-water ratios directly reduces the risk of under- and over-extraction, producing a more balanced and consistent cup.
The practical guide for coffee ratio consistency tips goes deeper on this, but here is a quick reference for common brew ratios by method:
| Brew method | Typical ratio | Coffee (g) for 300 ml water |
|---|---|---|
| Pour-over | 1:15 to 1:17 | 18 to 20 g |
| French press | 1:12 to 1:15 | 20 to 25 g |
| Aeropress | 1:10 to 1:14 | 21 to 30 g |
| Cold brew | 1:5 to 1:8 | 37 to 60 g |
| Espresso | 1:2 to 1:2.5 | 18 g in, 36 to 45 g out |
Without weighing both your input dose and output yield, replicating a coffee you loved is largely guesswork. You might get lucky twice in a row, but without weight data, you have no reliable path back to a cup that worked.
Key features for an effective coffee scale and common pitfalls
Not all scales serve coffee well. A kitchen scale designed for baking often lacks the resolution and response speed that coffee brewing demands. Knowing which features actually matter helps you choose something that pulls its weight.
Here are the best coffee scale features to look for:
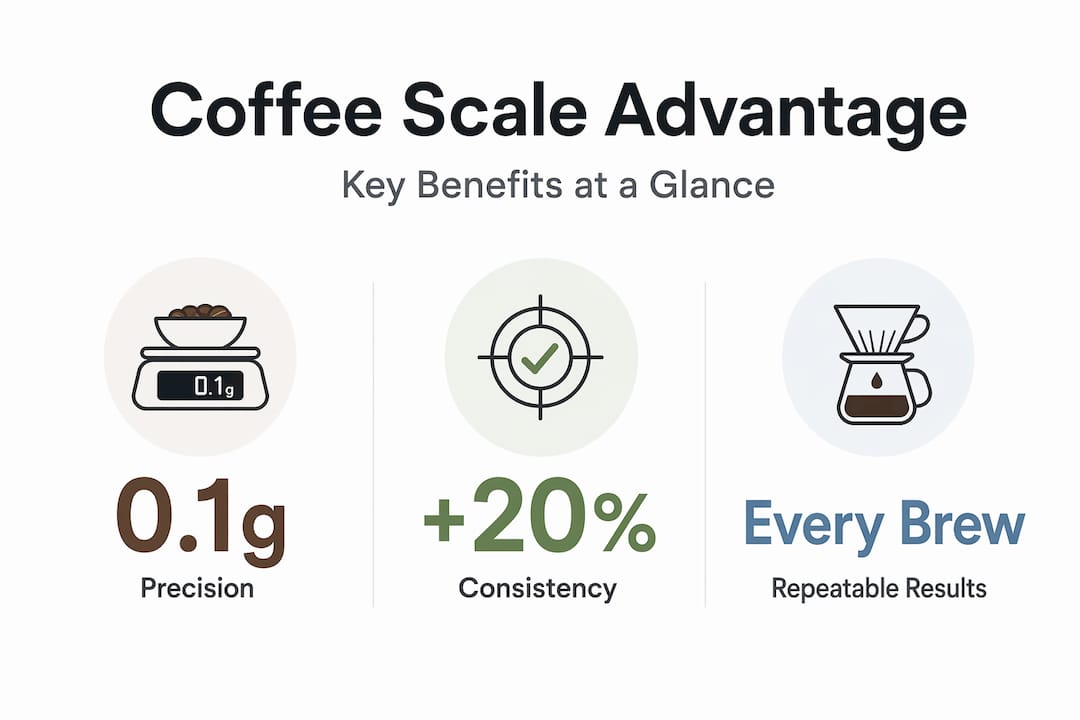
- 0.1 g resolution: This is non-negotiable for espresso and still highly useful for pour-over. Without it, small but meaningful dose errors go undetected.
- Response time under 0.3 seconds: Espresso runs fast. A slow scale lags behind the actual pour, making real-time adjustments impossible.
- Built-in timer: Saves you from managing separate devices mid-brew and helps correlate weight and time data.
- Tare function: Zeroes out the container or portafilter weight so you are only measuring the coffee or water added.
- Calibration capability: Ensures your readings remain accurate over time. Calibration is essential after first use, following firmware updates, or when readings start drifting.
- Stable platform: A wide, flat surface prevents portafilters or large carafes from tipping.
At the high end of the market, scales like the Acaia Pearl offer a 20 millisecond response time and Bluetooth connectivity for flow rate analysis, which lets you see exactly how water moves through the puck in real time.
Common mistakes that undermine scale accuracy include placing the scale on an uneven or vibrating surface, skipping calibration after moving or updating the device, ignoring drafts near the scale, and forgetting to use the tare function between steps.
Pro Tip: Always place your scale on a firm, flat, draft-free surface before each session. Even slight vibration from a counter-mounted espresso machine can affect readings on sensitive scales.
For a broader look at how to build an efficient home setup around your scale, the home barista workflow tips guide is worth reading.
Practical tips for incorporating a coffee scale into your brewing routine
Knowing why scales matter is one thing. Using them effectively every day is another. These steps make the habit stick without adding friction to your morning routine.
- Set the scale on a level, stable surface before you do anything else. This takes two seconds and eliminates one of the most common sources of error.
- Place your portafilter or brew vessel on the scale and press tare before adding any coffee. You are measuring only the dose, not the container.
- Weigh your coffee dose before grinding for the most accurate reading, then adjust if needed.
- Start the timer when you begin brewing and stop it when you hit your target weight.
- Weigh your output yield by placing the cup on the scale before the shot or pour, then pressing tare again. Using tare with a calibrated setup is what turns a good scale into a precision tool.
- Calibrate regularly, especially if you have moved the scale, updated its firmware, or noticed the readings seem off compared to previous sessions.
- Log your brew data: dose, yield, time, and any flavor notes. Even a simple notebook works. Over several sessions, patterns emerge.
For espresso specifically, stop the pump 2 to 3 grams before your target yield. Drip lag after the pump stops means the final yield will still land where you want it.
Pro Tip: Track one variable at a time. If you change the dose and the grind in the same session, you will not know which adjustment moved the flavor. Scale data only helps you improve when you isolate your changes.
The step-by-step scale use guide covers the full brewing process in detail if you want a complete walkthrough.
Why relying on just a timer or scoop limits your coffee’s potential
Here is something most brewing guides will not tell you directly: timing and scooping are not poor substitutes for weighing. They are a different measurement altogether, and confusing them for the same thing is what keeps a lot of good brewers plateaued.
A timer tells you how long extraction ran. It says nothing about how much coffee went in, how much came out, or what ratio you actually brewed at. Vary the dose by 2 grams and the timer will give you the same number while delivering a completely different cup. The brew ratio stays hidden unless you are measuring weight.
Volume scooping compounds the problem. Different bean origins, different roast levels, and different grind settings all produce coffee with different densities. Many coffee errors trace back directly to failing to control dose weight and yield, and those errors multiply when you are depending on volume or time as your primary measures. Experienced brewers who switch to weighing often describe it as suddenly being able to see what was previously invisible.
The shift in thinking is worth framing clearly. A timer is useful context. A scoop is a convenience tool. But neither tells you what actually happened inside the brew. Weight does. And once you treat weight as your primary variable, improving your sense of tasting coffee properly becomes far more productive because you know what changed.
Explore high-quality coffee and gear at Z’s Coffee
Precise weighing only takes you as far as your ingredients will allow. If the beans are stale, inconsistently roasted, or poorly sourced, no scale will rescue the cup.

At Z’s Coffee, you will find a curated selection of specialty coffee products sourced for quality and freshness, including cold brew coffee options that reward precise preparation. Browse the full range of coffee and tea products to find beans and accessories that match the level of care you are now putting into your brewing. The best brew starts with the best materials, and your scale is waiting to prove it.
Frequently asked questions
Do I need a special coffee scale or will a regular kitchen scale work?
A dedicated coffee scale should offer 0.1 gram precision, fast response time, and a built-in timer. Regular kitchen scales typically lack all three features, making them unreliable for consistent coffee brewing.
How often should I calibrate my coffee scale?
Calibrate after first use, after firmware updates, or whenever readings seem unstable, using certified calibration weights for best accuracy.
Can I use a coffee scale for all brewing methods?
Yes. A scale improves consistency across every brew method by giving you precise control over dose and yield whether you are making espresso, pour-over, French press, or cold brew.
Why is weighing both coffee and water important?
Weighing both controls your actual coffee-to-water ratio rather than an estimated one. Professionals weigh both input dose and output yield because that ratio is the single most influential variable in how a coffee tastes.