TL;DR:
- Small mistakes in grind, water temp, or timing can ruin home coffee quality.
- Choosing the right method and mastering variables like ratio and extraction improves results.
- Critical tasting and adjustments build confidence and lead to consistently better home brews.
Most home brewers know the frustration well. You follow what seems like a reasonable process, and the cup still comes out flat, bitter, or just off. The truth is that minor mistakes in grind size, water temperature, or timing are enough to throw off the entire result. This guide walks you through every stage of home coffee brewing, from gathering the right tools to troubleshooting bad batches, so you can stop guessing and start making cups you’re genuinely proud of. Expect real measurements, clear steps, and expert-backed techniques you can apply immediately.
Table of Contents
- Gather your essential coffee-making tools and ingredients
- Choose the right brew method for your taste
- Step-by-step instructions: brewing with precision
- Avoid common mistakes and troubleshoot for better results
- Enjoy and experiment: elevating your home coffee experience
- What most home baristas miss: The true secret to a great cup
- Take your coffee further with specialty picks and tools
- Frequently asked questions
Key Takeaways
| Point | Details |
|---|---|
| Use proper equipment | Consistent grind size and accurate measurement tools are crucial for repeatable home coffee success. |
| Match method to taste | Choose a brewing method that aligns with your preferred coffee body and flavor clarity. |
| Follow precise steps | Accurate ratios, timing, and agitation dramatically impact the quality of each cup. |
| Troubleshoot and adjust | Learning to identify and fix common brewing mistakes turns a good cup into a great one. |
| Experiment boldly | Personalizing your recipes and recording tweaks leads to ongoing improvement and enjoyment. |
Gather your essential coffee-making tools and ingredients
Before you start brewing, you’ll need to get your tools and ingredients ready. The good news is that you don’t need a professional setup to brew excellent coffee at home. You do, however, need the right fundamentals.
Essential equipment checklist:
- Grinder: A burr grinder gives you consistent particle size, which matters enormously for even extraction
- Scale: Measuring by weight beats measuring by volume every time
- Kettle: A gooseneck kettle gives you pour control; any kettle works for immersion methods
- Brewer: Choose based on your preferred method (pour-over dripper, French press, AeroPress, or espresso machine)
- Filters: Paper filters for pour-over and AeroPress; metal filters for French press
- Fresh coffee beans: Whole beans, ground just before brewing, make a noticeable difference
Water quality matters more than most people realize. Use filtered water when possible. Tap water with heavy chlorine taste will show up in your cup. The ideal brewing temperature sits between 195°F and 205°F, which is just off a full boil.
For ratios, start with a 1:15 coffee-to-water ratio. That means 15 grams of water for every 1 gram of coffee. A 20g dose of coffee calls for 300g of water. This is a reliable baseline for most methods.
| Brew method | Grind size | Water temp | Ratio |
|---|---|---|---|
| Pour-over | Medium-fine | 200°F | 1:15 |
| French press | Coarse | 200°F | 1:15 |
| AeroPress | Medium-fine | 195-205°F | 1:15 |
| Espresso | Fine | 200°F | 1:2 |
| Cold brew | Coarse | Cold/room temp | 1:8 |
As Coffee Chronicler notes, medium-fine grind, correct water temp, and brew ratios are critical for methods like AeroPress. Getting these three variables dialed in before you even start brewing saves you a lot of troubleshooting later.
Pro Tip: If you don’t have a burr grinder yet, ask your local roaster to grind fresh beans for you at the right size for your method. It’s a solid short-term fix while you’re choosing coffee beans and building your setup.
Once your tools are ready, take a few minutes to select coffee accessories that match your brewing style. The right accessories make the process faster and more consistent.
Choose the right brew method for your taste
With your tools gathered, let’s find the method that matches your coffee style and needs. Each brewing method extracts coffee differently, which changes the flavor, body, and clarity of your cup.
| Method | Flavor profile | Body | Best roast | Skill level |
|---|---|---|---|---|
| Pour-over | Clean, bright, nuanced | Light | Light to medium | Intermediate |
| French press | Rich, full, bold | Heavy | Medium to dark | Beginner |
| AeroPress | Versatile, smooth | Medium | Any | Beginner |
| Espresso | Intense, concentrated | Very heavy | Dark | Advanced |
| Cold brew | Smooth, low-acid | Medium | Medium to dark | Beginner |
As a general rule, pour-over brings out clarity in single-origin coffees, while French press and AeroPress boost body and blend complexity. If you love tasting the individual notes of a specific region or farm, pour-over is your method. If you want something bold and forgiving, French press is hard to beat.
Matching method to taste preference:
- Bright, tea-like, floral notes: Pour-over with a light roast
- Chocolatey, full-bodied comfort: French press with a medium-dark roast
- Flexible, quick, and consistent: AeroPress with any roast
- Espresso-based drinks (lattes, cappuccinos): Espresso machine with a dark roast
- Low-acid, cold refreshment: Cold brew with a medium roast
Understanding processing methods for clarity also helps you pick beans that work well with your chosen method. Washed-process coffees tend to shine in pour-over, while natural-process beans add sweetness to immersion methods.
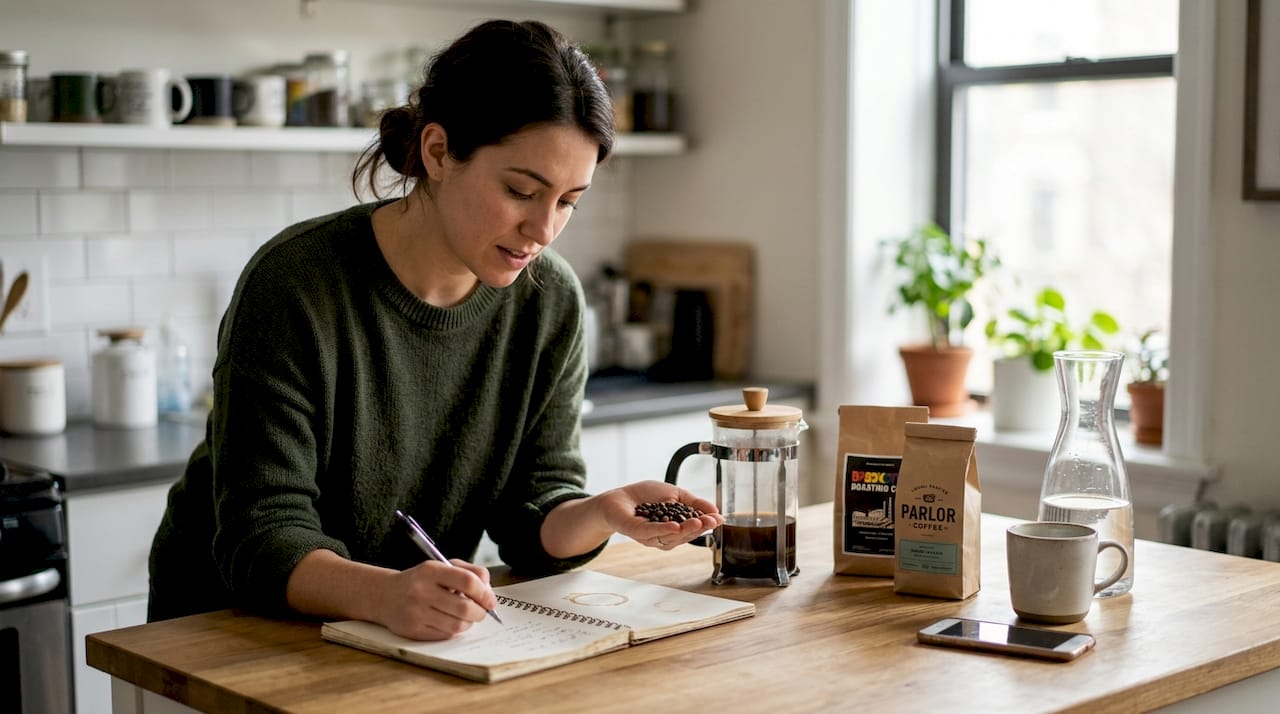
For deeper guidance on sourcing, check out tips for quality beans before you commit to a bag. Freshness and origin matter as much as your brewing technique.
Step-by-step instructions: brewing with precision
Now that you’ve chosen your brew method, let’s walk through the full process step by step. These instructions cover the three most popular home methods.
Pour-over (V60 or Chemex):
- Boil water and let it cool to 200°F (about 30 seconds off boil)
- Rinse your paper filter with hot water, then discard the rinse water
- Add 20g of medium-fine ground coffee to the filter
- Start your timer and pour 40g of water slowly over the grounds (the bloom). Wait 30 to 45 seconds
- Continue pouring in slow, circular motions until you reach 300g total. Aim to finish by 3 to 3.5 minutes
- Remove the dripper and serve immediately
French press:
- Add 30g of coarse ground coffee to your press
- Pour 450g of water at 200°F over the grounds
- Stir gently, place the lid on without pressing, and steep for 4 minutes
- Press the plunger down slowly and pour immediately
AeroPress (hybrid method):
- Insert a paper filter and rinse it. Assemble the AeroPress in standard position
- Add 17g of medium-fine coffee
- Pour 255g of water at 195 to 205°F
- Stir once, place the cap on, and steep for 1 to 2.5 minutes
- Press steadily for 30 seconds
The AeroPress hybrid method uses a 1:15 ratio, 195 to 205°F water, 1 to 2.5 minute steep, and a 30-second press for clean, balanced results.
Critical: Always decant your coffee immediately after brewing. Leaving it on the grounds, especially with French press, causes over-extraction and bitterness.
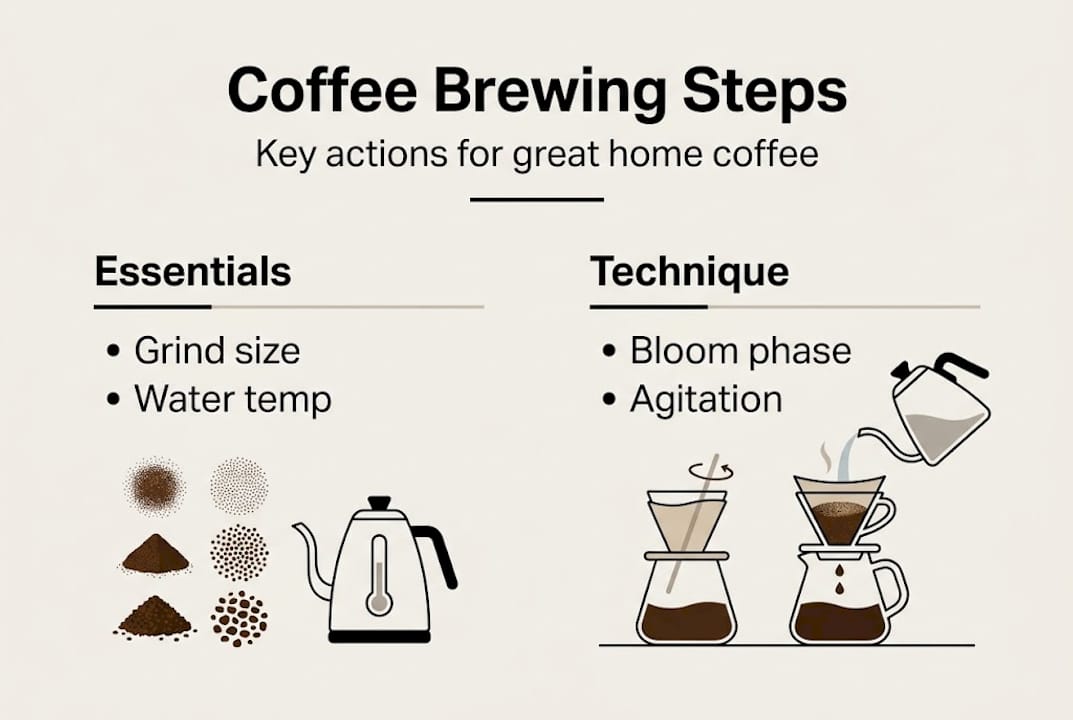
James Hoffmann’s guidance focuses on blooming, controlled agitation, and immediate decanting for optimal extraction. These three habits separate average home brews from genuinely great ones.
Pro Tip: Want to brew better flavor without buying new equipment? Focus on your bloom. A proper 30-second bloom releases trapped CO2 and primes the grounds for even extraction.
For those interested in espresso, our espresso at home guide covers the full process with machine-specific tips.
Avoid common mistakes and troubleshoot for better results
Even with the best process, some batches may disappoint. Here’s how to troubleshoot and perfect your brew.
Most common home brewing mistakes:
- Using pre-ground coffee that’s gone stale
- Grinding too fine for immersion methods (causes bitterness and over-extraction)
- Grinding too coarse for pour-over (causes weak, sour, under-extracted coffee)
- Using water that’s too hot (above 205°F scorches the grounds)
- Using water that’s too cool (below 195°F under-extracts)
- Eyeballing measurements instead of weighing
- Steeping French press too long before pressing
Taste guide: Sour or weak = under-extracted (grind finer, brew hotter, or steep longer). Bitter or harsh = over-extracted (grind coarser, brew cooler, or reduce steep time).
Minor adjustments in water temperature, grind size, and steep time significantly impact taste clarity. Change only one variable at a time so you know exactly what made the difference.
Pro Tip: Keep a simple brewing log. Note your dose, grind setting, water temp, steep time, and a one-line tasting note. After five or six brews, patterns become obvious and dialing in your recipe gets much faster.
If you’re still getting inconsistent results, it may be worth exploring different types of coffee beans. Sometimes the issue isn’t technique but the bean itself, whether it’s too old, too light for your method, or simply not a good match for your palate.
Enjoy and experiment: elevating your home coffee experience
With troubleshooting covered, you’re ready to take your routine even further. Once you have a reliable base recipe, the real fun begins.
Ways to experiment and refine your brew:
- Adjust your ratio by small increments (try 1:14 for stronger, 1:16 for lighter)
- Try a slightly coarser grind with a longer steep to change body without bitterness
- Experiment with water temperature in 2 to 3 degree steps
- Swap your usual roast for a different origin or process to hear how your method responds
- Try your pour-over recipe with a natural-process bean and compare it to a washed one
Food pairing is underrated in home coffee culture. A bright Ethiopian pour-over pairs beautifully with citrus pastries. A dark French press roast works well with chocolate or nutty foods. Milk alternatives like oat milk add sweetness and body without masking lighter roast notes.
Pro Tip: Explore coffee flavor pairing ideas to get more out of each cup without changing a single thing about your brewing process.
If you want to branch into cold coffee, cold brew at home is one of the most forgiving methods to learn. Steep coarse grounds in cold water for 12 to 24 hours, strain, and you have a smooth concentrate ready to dilute or drink straight.
Recording your experiments is genuinely one of the most powerful habits you can build. Even a basic notes app on your phone works. Over time, you develop real intuition rather than just following someone else’s recipe.
What most home baristas miss: The true secret to a great cup
Here’s something most step-by-step guides won’t tell you: following a recipe perfectly is not the same as brewing great coffee consistently. Recipes are starting points. The brewers who get remarkable results every morning are the ones who pay attention to their specific setup, their specific beans, and their specific water.
Every variable in your kitchen is slightly different from the person who wrote the recipe. Your grinder produces a slightly different particle distribution. Your tap water has a different mineral content. Your kettle loses heat at a different rate. These differences are small, but they add up.
The real skill in home brewing is learning to taste critically and adjust confidently. That means tasting your coffee before you add anything to it, noticing whether it’s bright or flat, clean or muddy, and then making one deliberate change. Not three. One.
Experts who document their brews and break from standard recipes when needed develop real intuition faster than those who just repeat the same steps. Visit our perfect coffee at home tips for more on building that mindset. Confidence in the cup comes from curiosity, not compliance.
Take your coffee further with specialty picks and tools
Ready to level up your kit and coffee routine? Explore these handpicked tools and specialty options.

At Z’s Coffee, we’ve curated a range of products built for home brewers who take their cup seriously. If you’re short on time but still want quality, our instant coffee options deliver specialty-grade taste without the setup. For those ready to explore cold brewing, our cold brew selections make it easy to start with the right beans and ratios. And if you love great coffee on the go, our travel mugs keep your brew at the right temperature wherever you head. Browse the full collection to find everything you need to brew better, starting today.
Frequently asked questions
What is the best coffee-to-water ratio for home brewing?
A 1:15 ratio is a reliable starting point for most brew methods. For example, 20 grams of coffee to 300 grams of water gives you a balanced, full-flavored cup.
How can I achieve a clean cup of coffee with no bitterness?
Use the correct grind size and water temperature, and avoid over-steeping. Bloom, slow agitation, and immediate decanting are the key habits that prevent over-extraction.
Which brewing method is best for single-origin coffees?
Pour-over excels for single-origin clarity, especially with light roasts. It highlights nuanced flavors that immersion methods tend to blend together.
What kind of grinder should I use for home brewing?
A burr grinder is the best choice because it produces a consistent, uniform grind size. Blade grinders create uneven particles that lead to unpredictable extraction.
Can I make good cold brew with everyday kitchen tools?
Absolutely. Combine coarse ground coffee with cold water in a jar at a 1:8 ratio, steep in the fridge for 12 to 24 hours, and strain through a fine mesh or cheesecloth for a smooth, low-acid concentrate.