Getting cold brew right at home is harder than it looks. You follow a recipe, steep overnight, and end up with something flat, bitter, or so weak it tastes like coffee-flavored water. The frustration is real. Cold brew should be smooth, low-acid, and deeply satisfying, but small mistakes in grind size, ratio, or filtration can ruin the whole batch. This guide walks you through every stage of the process, from picking the right beans to achieving café-level clarity in your glass. By the end, you’ll know exactly which variables to control and how to fix whatever’s going wrong.
Table of Contents
- What you need to start: Key ingredients and tools
- Brewing step-by-step: Ratios, timing, and variables
- Filtration, dilution, and quality control
- Troubleshooting and fine-tuning: Common mistakes and expert tweaks
- What most cold brew guides miss: The art of sensory balance
- Upgrade your cold brew: Premium beans and tools
- Frequently asked questions
Key Takeaways
| Point | Details |
|---|---|
| Choose quality and grind | Start with fresh, medium-dark beans and a coarse grind for smooth, low-acid cold brew. |
| Master ratios and timing | Use a 1:4 to 1:8 coffee-to-water ratio and steep 12-18 hours in the fridge for optimal results. |
| Prioritize clean filtration | Double-filter your brew for clarity and avoid squeezing grounds to prevent bitterness. |
| Experiment for taste | Change only one variable at a time—grind, time, or roast—to tune cold brew to your preference. |
What you need to start: Key ingredients and tools
Before you brew a single drop, getting the right setup in place makes everything easier. The good news: you don’t need expensive equipment. You need the right equipment.
Here’s what you’ll need to get started:
- Coffee beans: Medium-dark roast works best for cold brew. Chocolatey, nutty notes shine without heat. Check out cold brew basics for a deeper look at why roast selection matters so much.
- Burr grinder: Blade grinders produce uneven particles that extract inconsistently. A burr grinder gives you a uniform coarse grind every time.
- Fresh, filtered water: Tap water with too many minerals or chlorine will muddy your flavor. Filtered, mineral-balanced water brings out better flavor clarity in the final cup.
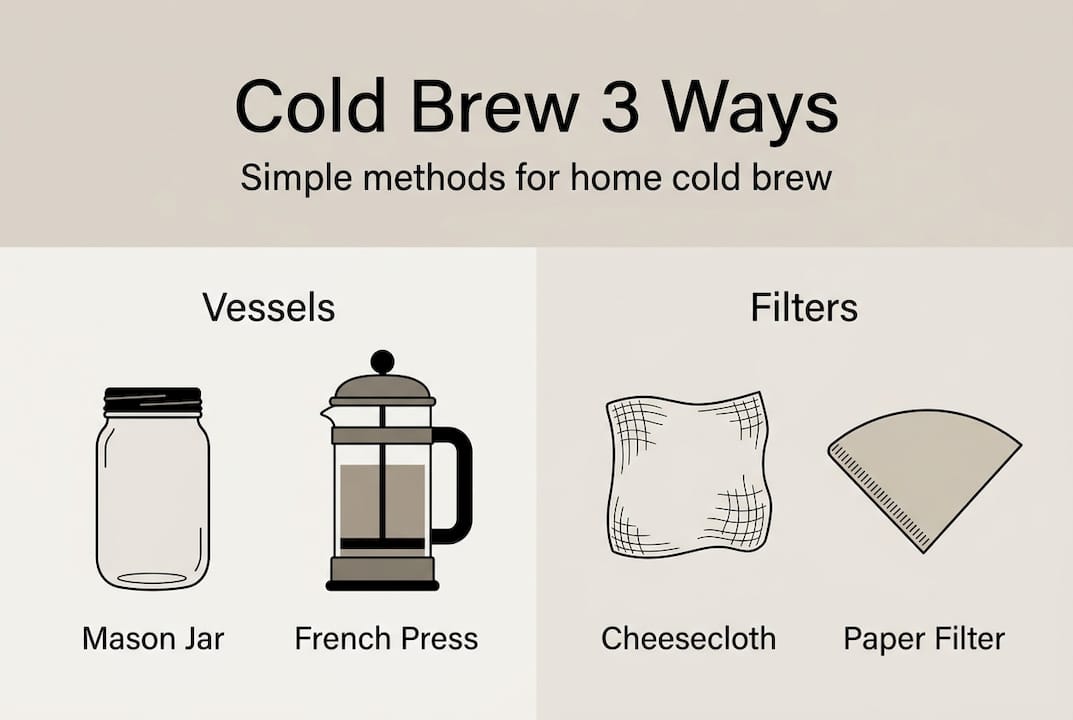
- Brewing vessel: A large mason jar, French press, or dedicated cold brew pitcher all work well.
- Filtration: Fine mesh strainer, cheesecloth, or paper filter. More on this in the filtration section.
The single most important equipment decision is your grinder. A coarse grind like turbinado sugar or French press texture prevents over-extraction and bitterness. Fine particles dissolve too aggressively in cold water over long steeping periods, and there’s no way to undo that.
| Setup type | Vessel | Filter | Best for |
|---|---|---|---|
| Mason jar method | Wide-mouth jar | Cheesecloth + mesh | Budget, easy cleanup |
| French press | French press | Built-in plunger | Quick, accessible |
| Dedicated pitcher | Cold brew pitcher | Built-in fine filter | Convenience, clarity |
| Toddy system | Toddy brewer | Paper filter | Café-level results |
For cold brew starter tips, the mason jar method is the most forgiving entry point. You can scale up once you’ve dialed in your ratio and grind.
Pro Tip: Use water that’s been filtered through a carbon block filter. It removes chlorine without stripping the minerals that help extract coffee’s natural sweetness.
Brewing step-by-step: Ratios, timing, and variables
Now that you have your basics ready, let’s get hands-on with the brewing steps.
Cold brew is made by steeping coarsely ground coffee in cold or room-temperature water for 12 to 24 hours. The result is a smooth, low-acid concentrate you filter and dilute before serving. Simple in theory. Nuanced in practice.
Step-by-step process:
- Weigh your coffee and water. Don’t eyeball it. Use a kitchen scale.
- Grind coarse. Aim for a texture like rough sea salt or turbinado sugar.
- Combine in your vessel. Add coffee first, then pour water slowly over the grounds.
- Stir gently. Make sure all grounds are saturated. No dry pockets.
- Cover and steep. Refrigerator is safest. Steep 12 to 18 hours.
- Filter and store. Strain through your chosen filter into a clean jar or bottle.
- Dilute before serving. Most concentrates need a 1:1 or 1:2 ratio with water or milk.
Ratio is where most home brewers get confused. Standard ratios range from 1:4 to 1:8 by weight, with 1:5 producing a strong concentrate and 1:8 giving you a ready-to-drink brew. When in doubt, start at 1:5 and dilute to taste.
| Ratio (coffee:water) | Strength | Best use |
|---|---|---|
| 1:4 | Very strong concentrate | Dilute 1:2 or use in cocktails |
| 1:5 | Strong concentrate | Dilute 1:1 with water or milk |
| 1:6 | Medium concentrate | Light dilution or serve over ice |
| 1:8 | Ready-to-drink | No dilution needed |
The flavor of cold brew isn’t just about steeping time. Roast level shapes the base flavor, ratio controls intensity, and steep time fine-tunes extraction. Change one variable at a time to understand what each does to your cup.
For a broader look at how these variables interact, the home brewing guide covers extraction principles across multiple methods. And if you want to understand how roast affects coffee flavor profiles, that’s worth reading before you choose your beans.
Pro Tip: The temperature effect on cold brew is real. Room temperature speeds extraction but increases fermentation risk. Stick to the fridge for clean, consistent results every time.
Filtration, dilution, and quality control
After steeping, it’s time to transform your concentrate into a crystal-clear, delicious drink.
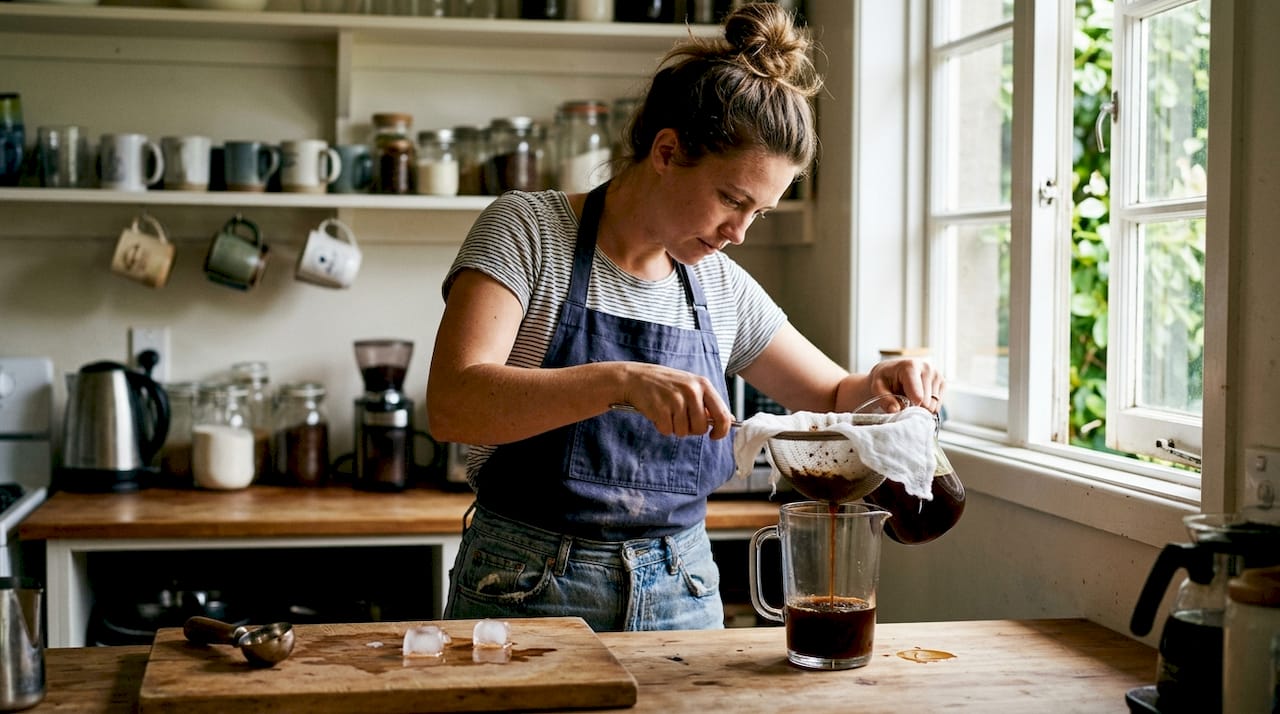
This step gets skipped over in most guides, but filtration is where cold brew goes from good to genuinely great. Sediment in the cup isn’t just a texture issue. It keeps extracting, making your stored cold brew more bitter over time.
Here’s how to filter properly:
- First pass: Pour through a fine mesh strainer to catch the bulk of the grounds.
- Second pass: Run through cheesecloth or a paper filter for clarity. This removes fine particles that cause cloudiness and off-flavors.
- Never squeeze the grounds. Pressing or wringing the grounds forces bitterness into the brew. Gravity does the work. Let it drip.
- Double filtration: For the cleanest cup, filter twice through paper. This is how specialty cafés achieve that glassy, transparent look.
Clarity in cold brew isn’t just visual. Removing fine particles also removes compounds that continue extracting in storage, keeping your brew tasting fresh for longer.
Once filtered, dilute your concentrate before serving. A 1:1 ratio with cold water is the most common starting point. You can also use oat milk, almond milk, or sparkling water for different textures and flavor experiences. Sweeteners like simple syrup blend more easily than granulated sugar in cold beverages.
For more on how processing affects flavor clarity, filtration for clarity is worth bookmarking. And if you want to go deeper into the science behind why filtration matters so much, the cold brew extraction science breakdown at Serious Eats is one of the most thorough resources available.
Pro Tip: Filter your cold brew twice, once through mesh and once through a paper filter, and you’ll notice a dramatic improvement in clarity and shelf life. Stored properly in the fridge, it stays fresh for up to two weeks.
Troubleshooting and fine-tuning: Common mistakes and expert tweaks
Even seasoned brewers run into challenges; here’s how to fix and upgrade your results.
Most cold brew problems trace back to one of three variables: grind size, steep time, or roast selection. Over-steeping or using a fine grind causes bitterness and muddy texture. Under-extraction produces a weak, watery cup. The fix is always the same: change one variable at a time.
Common issues and quick fixes:
- Bitter or harsh: Grind is too fine, or steep time is too long. Coarsen your grind first, then reduce steep time.
- Weak or watery: Ratio is too low, or grind is too coarse. Try a 1:5 ratio before adjusting grind.
- Muddy texture: Filtration is incomplete. Add a paper filter pass.
- Flat or lifeless flavor: Beans are stale or roast is too light. Fresh medium-dark beans make an immediate difference.
- Sour notes: Under-extraction. Try a slightly finer grind or longer steep, not both at once.
Roast selection is the most underrated variable in cold brew. Medium-dark roasts perform best, delivering chocolatey, nutty flavors that hold up beautifully without heat. Light roasts can underperform because their delicate floral and fruit notes need higher temperatures to fully extract. Research also confirms that finer grind and longer steep increase TDS (total dissolved solids), caffeine, and antioxidants, but push too far and you hit over-extraction territory.
Understanding coffee varietals and flavor helps you predict how a bean will behave in cold brew before you commit to a full batch. And once you’ve nailed your base recipe, flavor pairing ideas can take your cold brew in exciting new directions.
Pro Tip: Keep a simple brew log. Note your ratio, grind setting, steep time, and tasting notes for each batch. After three or four batches, patterns emerge fast and you’ll stop guessing.
What most cold brew guides miss: The art of sensory balance
Most guides hand you a recipe and call it done. But cold brew mastery isn’t about following instructions precisely. It’s about developing a sensory vocabulary for what you’re tasting and understanding why it tastes that way.
Extraction in cold brew happens in layers. Sweetness and brightness extract first. Body and bitterness come later. This means a slightly under-steeped batch might actually taste cleaner and more balanced than one that went the full 20 hours. The recipe is a starting point, not a law.
The brewers who consistently make exceptional cold brew pay attention to roast feedback and adjust accordingly. They notice when a bean’s origin calls for a longer steep, or when a darker roast needs a coarser grind to stay clean. That kind of attentiveness, not recipe rigidity, is what separates good cold brew from great cold brew. Exploring brewing mastery insights around bloom science and freshness will sharpen that sensory awareness even further. Trust your palate. It’s your most reliable brewing tool.
Upgrade your cold brew: Premium beans and tools
You’ve put in the work to understand the process. Now the beans and tools you use become the limiting factor.

At Z’s Coffee, we’ve curated premium cold brew beans specifically selected for their performance in cold extraction. These aren’t just any medium-dark roasts. They’re sourced and roasted to bring out the smooth, chocolatey depth that cold brew is known for. Pair them with reliable filters and brewing gear from our coffee gear selection, and you’ll notice the difference from your very first batch. Whether you’re just starting out or fine-tuning a process you’ve been building for months, the right ingredients make every variable easier to control.
Frequently asked questions
What is the ideal coffee-to-water ratio for cold brew?
A ratio of 1:4 to 1:8 by weight is standard, with 1:5 for a strong concentrate and 1:8 for a ready-to-drink brew. Dilute concentrates 1:1 or 1:2 before serving.
Can you brew cold brew at room temperature?
Yes, but room temperature brewing is faster and riskier due to potential fermentation. Steep for 8 to 12 hours and use immediately if you go this route.
What grind size should I use for cold brew?
Use a coarse grind similar to French press or turbinado sugar texture. Anything finer risks over-extraction and bitterness during the long steep.
How long should you steep cold brew coffee for the best taste?
Steep for 12 to 18 hours in the fridge for the cleanest results. Going beyond 24 hours increases the risk of bitterness and off-flavors.
Why does my cold brew taste bitter or muddy?
Bitterness and muddiness usually come from too fine a grind or over-steeping, or from squeezing the grounds after brewing. Fix the grind first, then adjust steep time.