TL;DR:
- Achieving café-quality espresso relies on proper technique, fresh beans, and precise equipment.
- Adjusting grind size, tamping, and dosing incrementally is key to optimizing extraction.
- Personal taste and consistent logging are essential for developing your perfect espresso recipe.
Most home brewers have been there: you buy excellent beans, spend real money on a machine, and still end up with a shot that tastes flat, bitter, or just plain wrong. The gap between café-quality espresso and what comes out of your home setup is rarely about the equipment alone. It comes down to process, precision, and knowing what to look for. This guide walks you through every stage, from choosing the right tools and beans to pulling a shot you’re actually proud of, fixing common mistakes, and learning to trust your own palate.
Table of Contents
- Essential equipment and ingredients for brewing espresso
- Step-by-step espresso brewing process
- Troubleshooting and common mistakes in home espresso
- Fine-tuning your brew: Advanced tips for better espresso
- How to verify and enjoy great espresso at home
- What most espresso guides miss: Our expert perspective
- Bring café-quality coffee to your kitchen with Z’s Coffee
- Frequently asked questions
Key Takeaways
| Point | Details |
|---|---|
| Fresh beans matter | Use freshly roasted, high-quality beans to maximize espresso flavor and aroma. |
| Perfect your technique | Consistent grind, dosing, tamping, and timing are essential for great espresso shots. |
| Diagnose and adjust | Learn to troubleshoot common problems and refine your process for better results. |
| Enjoy your own style | Experiment with variables and embrace what tastes best to you. |
Essential equipment and ingredients for brewing espresso
Before you pull your first shot, you need the right setup. Espresso quality depends on having the right equipment and freshly roasted beans. Cutting corners on either one makes every other variable harder to control.
Here’s what belongs on your espresso equipment checklist:
- Espresso machine: Entry-level semi-automatic machines work well for beginners. Advanced users often prefer machines with PID temperature control for precision.
- Burr grinder: This is non-negotiable. Blade grinders produce uneven particles that ruin extraction.
- Tamper: A flat, 58mm tamper fits most commercial portafilters. Calibrated tampers remove guesswork.
- Digital scale: Accuracy to 0.1 grams matters more than you’d think.
- Filtered water: Tap water with heavy minerals or chlorine affects taste and damages your machine over time.
- Cleaning supplies: Group head brushes, backflush detergent, and portafilter cloths keep your machine performing at its best.
| Equipment | Starter option | Advanced option |
|---|---|---|
| Espresso machine | Semi-automatic, single boiler | Dual boiler with PID control |
| Grinder | Entry burr grinder | Flat burr, stepless adjustment |
| Tamper | Basic 58mm flat tamper | Calibrated self-leveling tamper |
| Scale | Basic 0.1g kitchen scale | Espresso scale with timer |
Bean selection matters just as much as hardware. Proper bean selection affects flavor and crema in espresso. Arabica beans tend to produce sweeter, more complex shots. Robusta adds body and a thicker crema but brings more bitterness. Many espresso blends combine both. When choosing espresso beans, look for a roast date within the last two to four weeks. Stale beans produce flat, lifeless shots no matter how perfect your technique is. For more on sourcing quality coffee, the tips for buying coffee beans guide is worth reading before your next purchase.
Pro Tip: A quality burr grinder will improve your espresso more than upgrading your machine. Consistent particle size is the foundation of even extraction.
Step-by-step espresso brewing process
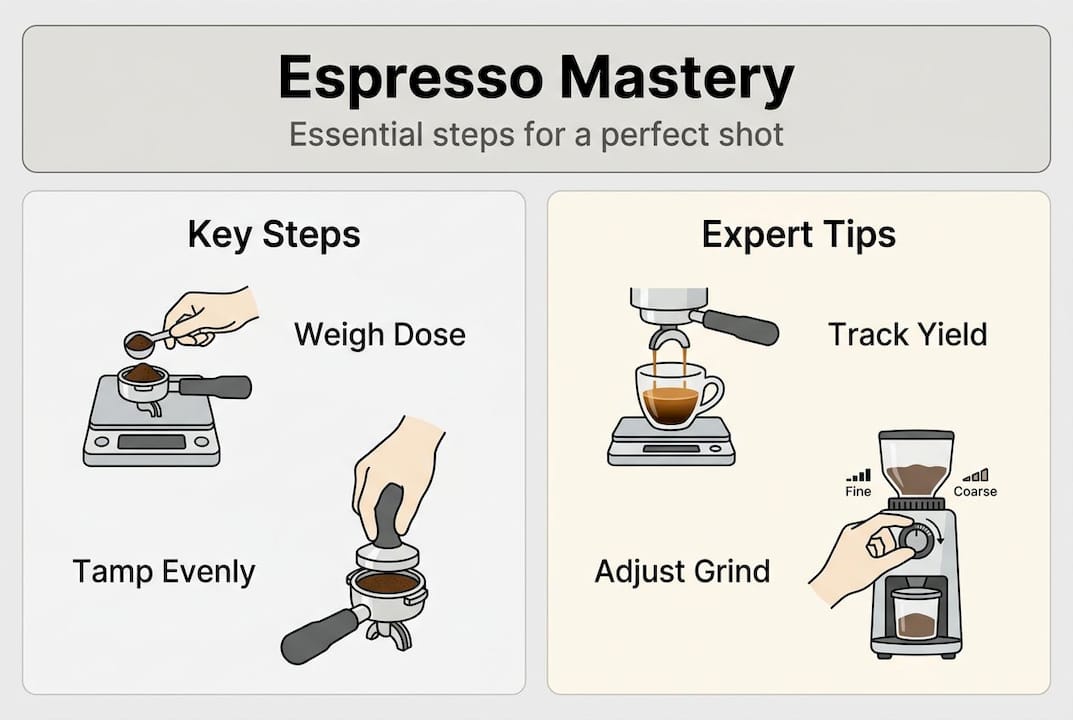
With your tools and ingredients prepped, let’s dive into making espresso step by step. Consistent dosing, tamping, and timing are vital for pulling a great espresso shot. Follow this sequence every single time.
- Grind fresh. Grind your beans immediately before brewing. Set your grinder to a fine setting, slightly finer than table salt.
- Dose accurately. For a double shot, use 18 grams of ground coffee. For a single, use 7 to 9 grams.
- Distribute evenly. Tap the portafilter gently and use your finger or a distribution tool to level the grounds before tamping.
- Tamp with firm, even pressure. Apply about 30 pounds of pressure straight down. A crooked tamp creates channels where water bypasses the coffee.
- Purge the group head. Run a quick burst of water through the group head to stabilize temperature before locking in your portafilter.
- Lock in and extract. Start the shot. Watch the timer and the flow. A well-pulled shot runs 25 to 30 seconds.
- Serve immediately. Espresso degrades fast. Drink it within 30 seconds of pulling.
- Clean up. Knock out the puck, rinse the portafilter, and run a blank shot through the group head.
| Shot type | Dose | Yield | Extraction time |
|---|---|---|---|
| Single | 7-9g | 25-30ml | 25-30 seconds |
| Double | 18-20g | 50-60ml | 25-30 seconds |
| Ristretto | 14-18g | 15-20ml | 15-20 seconds |
For a deeper breakdown, the full espresso brewing tutorial covers every variable in detail. The step-by-step brewing guide is also useful if you want to compare brewing methods side by side.
Pro Tip: Use a scale to weigh both your dry grounds and your liquid yield. Hitting the same ratio every time is what separates repeatable results from lucky shots.
Troubleshooting and common mistakes in home espresso
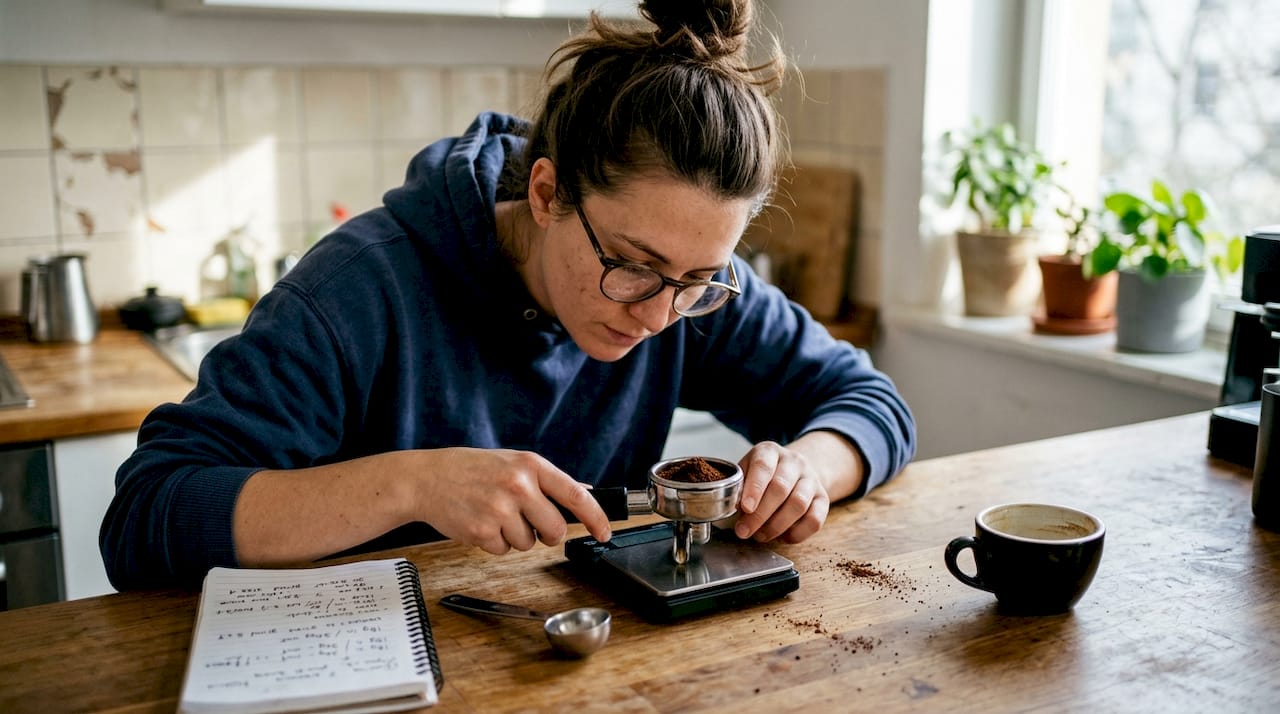
After you’ve learned the basic process, knowing what can go wrong and how to address it is just as key. Shot bitterness, weak crema, and sour taste are the most common issues home brewers face, and nearly all of them trace back to three variables: grind size, tamping, and dosing.
Visual clues to watch for:
- Crema is pale or thin: Beans are stale, or grind is too coarse.
- Shot runs too fast (under 20 seconds): Grind is too coarse, or tamp is too light.
- Shot runs too slow (over 35 seconds): Grind is too fine, or tamp is too hard.
- Crema is very dark and disappears quickly: Possible over-extraction or water temperature too high.
- Taste is sour or sharp: Under-extraction. Grind finer or extend brew time.
- Taste is harsh and dry: Over-extraction. Grind coarser or shorten brew time.
Improper extraction causes bitterness or sourness in espresso, and the fix is almost always a small grind adjustment rather than a dramatic change. Move in small steps: a single click on your grinder can shift a shot from sour to balanced.
The golden rule of espresso troubleshooting: Change only one variable at a time. If you adjust grind size, dose, and temperature all at once, you’ll never know which fix actually worked.
For deeper espresso problem-solving, it helps to understand the full extraction curve. The guide on fixing extraction problems breaks this down clearly.
Pro Tip: Keep a simple brew log. Write down your dose, grind setting, yield, time, and tasting notes after every session. Patterns emerge quickly, and you’ll dial in your recipe much faster.
Fine-tuning your brew: Advanced tips for better espresso
Once the basics and pitfalls are clear, you can level up your espresso with these expert tweaks. Small changes in grind, dose, and brew time can dramatically affect espresso quality, which is exactly why advanced brewers obsess over variables most people ignore.
Advanced techniques worth trying:
- WDT (Weiss Distribution Technique): Use a thin needle tool to break up clumps in the portafilter before tamping. It eliminates channeling and produces more even extraction.
- Pre-infusion: Many machines allow a low-pressure pre-soak of the puck before full pressure kicks in. This wets the grounds evenly and reduces channeling on the first contact.
- Water mineral content: Aim for water with 75 to 150 parts per million of total dissolved solids. Too soft and the shot tastes flat; too hard and it tastes chalky. Third Wave Water packets are a practical solution.
- Yield-to-dose ratio: Most specialty baristas target a 1:2 ratio (18g in, 36g out). Adjusting this ratio changes body and intensity more than almost any other variable.
- Temperature control: Brew temperature between 195°F and 205°F (90°C to 96°C) is the standard range. Lighter roasts often extract better at higher temperatures; darker roasts prefer the lower end.
Experimenting with bean origins is another powerful lever. Single-origin Ethiopian beans produce floral, fruity shots. Brazilian naturals lean chocolatey and nutty. Blends are engineered for consistency. The enhancing flavor tips guide explores how each variable connects to the final cup in a way that makes iteration feel rewarding rather than overwhelming.
The key mindset shift at this stage: stop chasing a perfect recipe and start chasing your perfect recipe. Your palate is the final judge.
How to verify and enjoy great espresso at home
After dialing in your technique, you need to make sure your espresso truly hits the mark. Authentic espresso is rich, aromatic, and features a thick crema on top. Knowing what to look for makes quality control second nature.
Signs of ideal espresso:
- Crema is hazelnut to reddish-brown and holds for at least 60 seconds
- Aroma is intense, sweet, and complex right after pulling
- Body feels thick and syrupy on the palate
- Taste is balanced: sweet up front, mild bitterness in the finish, no harsh edges
- Volume and time landed within your target parameters
| Sensory attribute | What to look for | Common issue if off |
|---|---|---|
| Crema color | Hazelnut to dark amber | Pale = stale beans or coarse grind |
| Crema texture | Thick, tiger-striped | Thin = under-extraction |
| Aroma | Sweet, roasted, complex | Flat = old beans |
| Body | Syrupy, full | Watery = coarse grind or low dose |
| Taste | Balanced sweet-bitter | Sour = under; bitter = over |
For identifying espresso quality with confidence, train yourself to evaluate each attribute separately before forming an overall judgment.
When it comes to serving, espresso is best enjoyed in a pre-warmed demitasse cup. A small glass of still water served alongside cleanses the palate. If you want to extend the experience, a square of dark chocolate or a small biscotti pairs beautifully without masking the coffee’s complexity.
What most espresso guides miss: Our expert perspective
Most guides hand you a recipe and call it done. But the brewers who consistently pull exceptional shots aren’t following rules more carefully than everyone else. They’re experimenting more deliberately and logging what they find. The personal brewing process matters more than any single technique.
Here’s the uncomfortable truth: there is no universally correct espresso. What tastes perfect to one person reads as over-extracted to another. Chasing someone else’s ideal shot is a fast path to frustration. The better approach is to define what you enjoy and work backward from there.
Keep a brew log. Taste critically. Adjust one variable at a time. Celebrate small wins. The brewers who improve fastest aren’t the ones with the most expensive gear. They’re the ones who stay curious and pay attention.
“The best espresso is the one you love, made your way.”
Trust your palate. It’s more reliable than any recipe.
Bring café-quality coffee to your kitchen with Z’s Coffee
Ready to put new skills into action? Great espresso starts with great ingredients, and having the right beans and accessories makes every technique you’ve learned here land with more impact.

At Z’s Coffee, we source premium beans and brewing accessories designed for home brewers who take their craft seriously. Whether you’re experimenting with a bold cold brew coffee on your off days or stocking up on your next espresso blend, our premium coffee and tea collection gives you quality you can taste in every shot. Explore our full range and find the beans and tools that match where you are in your espresso journey.
Frequently asked questions
What grind size is best for espresso?
Espresso requires a fine grind, slightly finer than table salt, to create the resistance needed for proper extraction and a thick crema. Too coarse and the shot runs fast and sour; too fine and it chokes the machine.
How much coffee should I use for a single espresso shot?
A single shot generally uses 7 to 9 grams of ground coffee, while a double shot calls for 18 to 20 grams. Always weigh your dose rather than estimating by volume.
Why does my espresso taste bitter or sour?
Bitterness usually signals over-extraction from too fine a grind or water that’s too hot; sourness points to under-extraction from too coarse a grind or a short brew time. Adjust one variable at a time to find the balance.
Can I make espresso without an expensive machine?
Moka pots and manual lever devices can produce strong, concentrated coffee, but only espresso machines provide the 9 bars of pressure required for true espresso and authentic crema.