TL;DR:
- Crema is a chemical emulsion forming under high pressure and indicates shot quality.
- Reading crema’s color, thickness, and persistence helps troubleshoot extraction issues.
- Using fresh beans and proper technique enhances crema and overall espresso flavor.
That reddish-brown foam sitting on top of your espresso is not decoration. It is a live report on your beans, your grinder, your machine, and your technique. Most home baristas either obsess over it or ignore it entirely, and both approaches miss the point. Crema is a diagnostic tool, a flavor carrier, and a window into the chemistry happening inside your portafilter. This guide breaks down the science, the practical signals, and the hands-on techniques that will help you read and improve every shot you pull.
Table of Contents
- What is crema: The science behind espresso’s signature foam
- Why crema matters: Taste, aroma, and the diagnostic role
- What affects crema: Beans, freshness, and blend composition
- How to maximize crema: Techniques and expert tips for home baristas
- Our take: Why crema is overhyped—and how to truly judge your espresso
- Find your perfect beans for crema-rich espresso
- Frequently asked questions
Key Takeaways
| Point | Details |
|---|---|
| Crema reveals espresso quality | Crema’s color, texture, and persistence offer vital clues about your espresso technique and bean freshness. |
| Bean choice drives crema | Fresh beans and precise blends, especially those with some Robusta, create richer and longer-lasting crema. |
| Perfect your process | Tuning grind, tamp, and shot time are essential steps for achieving optimal crema at home. |
| Balance matters most | Excellent espresso combines good crema with balanced flavor, aroma, and mouthfeel. |
What is crema: The science behind espresso’s signature foam
Crema is not just foam. At a molecular level, it is something far more interesting. Coffee crema is the reddish-brown, frothy foam on top of a freshly pulled espresso shot, made up of an emulsion of coffee oils, proteins, melanoidins, suspended solids, and carbon dioxide gas bubbles. That combination is what gives it the tiger-striped, caramel-colored appearance that signals a well-pulled shot.
The process that creates crema is just as fascinating. Crema forms under 9 bars of pressure during espresso extraction: hot water between 90 and 96 degrees Celsius forces through a finely ground coffee puck, emulsifying oils and supersaturating the liquid with CO2 stored in the beans. When that pressurized liquid hits the atmosphere, CO2 expands rapidly into microbubbles, which are then stabilized by the surrounding oils and proteins. No pressure, no crema. That is why you cannot replicate it with a French press or a pour-over.
Here is what crema’s visual characteristics actually tell you:
- Color: A golden to reddish-brown tone signals good extraction. Very pale crema often points to under-extraction. Very dark or nearly black crema suggests over-extraction.
- Thickness: A layer between 2 and 4 millimeters is the sweet spot. Thinner than that usually means stale beans or incorrect grind. Thicker is not always better.
- Persistence: Quality crema holds together for at least 2 minutes. If it dissolves in seconds, your beans may have lost most of their CO2.
- Texture: Fine, uniform bubbles indicate a balanced extraction. Large, uneven bubbles often mean channeling or an inconsistent tamp.
“Crema is your espresso’s first language. Learn to read it before you take a sip, and you will already know whether to adjust your grind or your tamp.”
Understanding the makeup of crema leads directly to why it is so valuable, both as an indicator and an influencer of flavor.
Why crema matters: Taste, aroma, and the diagnostic role
Crema is not just a visual cue. It actively shapes how your espresso tastes and smells, and it gives you real-time feedback on your brewing process. Ignoring it is like ignoring the temperature gauge on your car.
From a flavor standpoint, crema traps volatile aromatic compounds that would otherwise escape into the air. That first hit of fragrance when you bring the cup to your nose? That is crema doing its job. It acts as a lid, holding the most aromatic molecules close to the surface until you are ready to drink.
From a diagnostic standpoint, crema is even more useful. Reading color, thickness, and persistence helps you troubleshoot extraction problems in real time. A pale, thin crema usually signals under-extraction, which means your grind is likely too coarse, your dose too low, or your shot pulled too fast. A dark, bitter crema with a white spot in the center often indicates over-extraction from too fine a grind or too long a shot time.
Here is a practical sequence for using crema as a diagnostic tool:
- Pull your shot and observe the crema color as it forms in the cup.
- Check the thickness immediately after extraction ends.
- Wait 90 seconds and note whether the crema holds or dissolves quickly.
- Taste the espresso and compare the flavor to what the crema predicted.
- Adjust one variable at a time based on what you observed, whether that is grind size, dose, or tamp pressure.
Pro Tip: If your crema looks right but the shot still tastes off, check your water temperature. Even a 3-degree drop can shift extraction dramatically without changing crema appearance much.
For a deeper look at fixing common espresso problems, the expert espresso troubleshooting tips at Z’s Coffee cover grind, dose, and timing adjustments in detail.
Now that you know how to read crema, let’s break down which beans and blends create the best results.
What affects crema: Beans, freshness, and blend composition
Your technique can only take you so far. The beans you choose are the single biggest variable in crema quality, and two factors matter most: freshness and species composition.
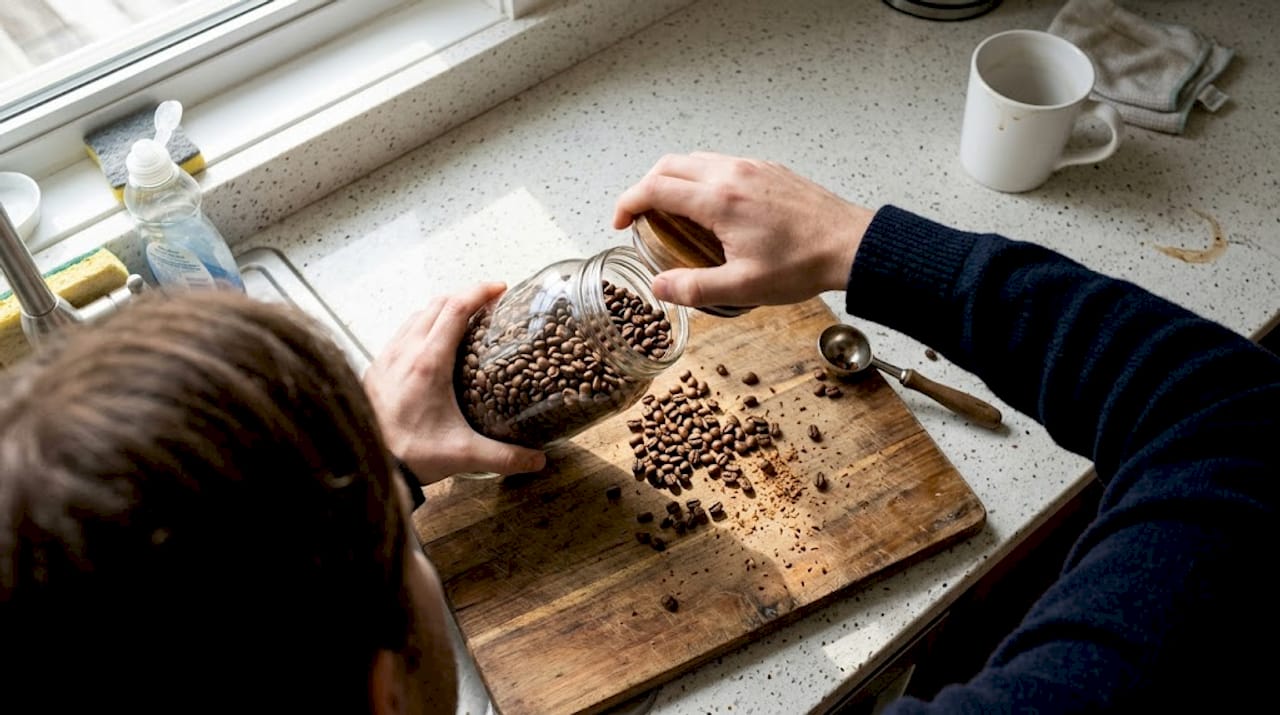
Freshness is everything when it comes to CO2. Roasted beans off-gas CO2 over time, and that CO2 is the raw material for crema. Fresh beans contain 4.0 to 8.6 mg/g of CO2, with Arabica averaging 4.6 mg/g and Robusta reaching 6.9 mg/g. Foam density ranges from 0.40 to 0.60 g/mL, and maximum crema persistence measures 33.9 minutes for Arabica and 48.6 minutes for Robusta. Beans that are more than 6 weeks past roast have lost so much CO2 that crema becomes thin and unstable regardless of your technique.
Species composition plays a different but equally important role. Here is how Arabica and Robusta compare for crema:
| Characteristic | Arabica | Robusta |
|---|---|---|
| CO2 content | 4.6 mg/g | 6.9 mg/g |
| Bubble size | Finer, more uniform | Larger, denser |
| Crema persistence | Up to 33.9 min | Up to 48.6 min |
| Flavor contribution | Complex, balanced | Bold, earthy |
| Crema color | Golden brown | Darker, richer |
Neither species is the outright winner. Arabica produces more nuanced flavor and finer bubbles, while Robusta generates thicker, longer-lasting crema. The sweet spot for most espresso blends is a ratio that leans heavily on Arabica for flavor while using a smaller share of Robusta to boost crema structure. Understanding coffee blend composition helps you make smarter choices at the bag level, not just at the machine.
For a full breakdown of flavor and growing differences, the Arabica vs. Robusta details article covers everything you need to know. And if you are not sure how to evaluate freshness at the point of purchase, choosing fresh beans walks you through what to look for on the bag.
Key factors that affect crema quality at a glance:
- Roast date: Aim for beans roasted within the last 7 to 21 days
- Storage: Keep beans in an airtight, opaque container away from heat and light
- Grind timing: Grind immediately before pulling your shot to preserve CO2
- Blend ratio: A 10 to 20 percent Robusta content improves crema without overwhelming flavor
Armed with bean and blend knowledge, it is time to fine-tune your hands-on technique for crema you can be proud of.
How to maximize crema: Techniques and expert tips for home baristas
Knowing the science is one thing. Translating it into a repeatable process at home is where most baristas get stuck. These steps will help you close that gap.
Prioritize bean freshness (7 to 21 days post-roast) and dial in your grind and tamp for a 25 to 30 second shot flow. Use blends with 10 to 20 percent Robusta for enhanced crema without overpowering flavor. That is the foundation. Everything else is refinement.
Here is the step-by-step process for maximizing crema at home:
- Start with fresh beans roasted 7 to 21 days ago. Anything older and CO2 levels drop significantly.
- Grind immediately before brewing. Pre-ground coffee loses CO2 within minutes of grinding.
- Dial in your grind size so the shot flows for 25 to 30 seconds. Too fast means too coarse; too slow means too fine.
- Tamp with consistent pressure, around 30 pounds of force, and keep the puck level to prevent channeling.
- Preheat your portafilter and cup to stabilize extraction temperature from the first drop.
- Observe the crema as it forms and use the diagnostic checklist from the previous section.
Pro Tip: Stir crema into your espresso before tasting for balanced flavor integration. Crema alone is bitter and intense, and it traps aromas that belong in the full cup. One gentle stir changes the experience completely.
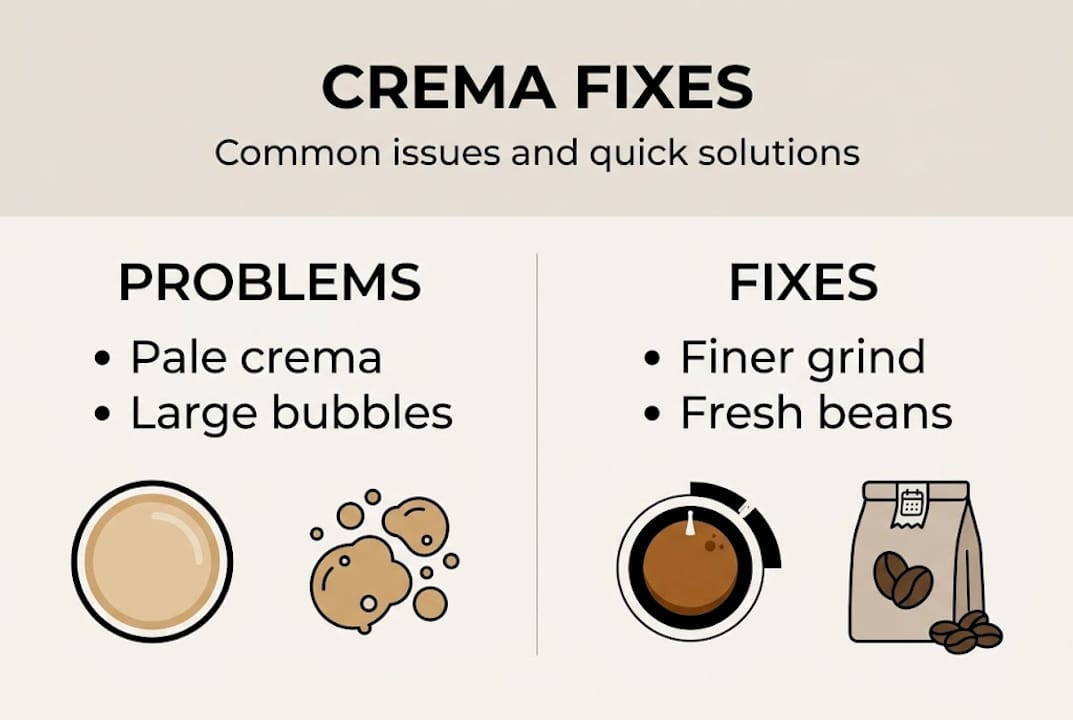
Here is a quick reference table for troubleshooting crema at home:
| Crema symptom | Likely cause | Fix |
|---|---|---|
| Pale and thin | Under-extraction or stale beans | Grind finer, use fresher beans |
| Dark and bitter | Over-extraction | Grind coarser, shorten shot time |
| Dissolves in seconds | Low CO2 in beans | Use fresher beans, check roast date |
| Large uneven bubbles | Channeling or uneven tamp | Re-tamp evenly, check grind distribution |
| Thick but flavorless | Too much Robusta | Adjust blend ratio toward Arabica |
For more detail on the full process, pulling perfect espresso shots covers every variable from machine pressure to cup temperature. If you want to understand how crema fits into broader coffee quality standards, that resource is worth bookmarking too.
Our take: Why crema is overhyped—and how to truly judge your espresso
Here is something most espresso content will not tell you: chasing perfect crema can actually make your coffee worse.
We have seen home baristas over-roast their beans, push Robusta ratios too high, and pull unnecessarily long shots, all in pursuit of that thick, tiger-striped foam. The result is often a cup that looks impressive and tastes flat, bitter, or one-dimensional.
Crema is a useful signal, not a goal. A shot with modest crema that tastes balanced, aromatic, and sweet is a better espresso than a thick-capped shot that coats your tongue with bitterness. True espresso quality lives in the combination of aroma, mouthfeel, sweetness, and acidity working together. Crema is one data point in that equation.
Our honest advice: use crema to catch obvious problems, then let your palate make the final call. Experiment with flavor pairing ideas to train your taste buds alongside your technique. The baristas who make the best espresso are the ones who taste constantly, not the ones who stare at the crema the longest.
Find your perfect beans for crema-rich espresso
You now understand what crema is, how to read it, and how to improve it. The next step is making sure you are working with beans that give your technique a real chance to shine.

At Z’s Coffee, we curate beans and blends specifically chosen for home espresso performance, including options that balance Arabica complexity with just enough Robusta structure to produce rich, lasting crema. Whether you are just starting out or dialing in a specialty setup, you can browse coffee blends matched to every skill level and flavor preference. If you want a faster option without sacrificing quality, our shop instant espresso options are worth exploring too. Great crema starts with great beans, and we have done the sourcing work for you.
Frequently asked questions
Does crema guarantee a good espresso shot?
No. Crema is one extraction indicator among several, and taste, aroma, and overall balance are equally important measures of shot quality.
How do I get thicker crema at home?
Use fresher beans roasted within 7 to 21 days, consider a blend with some Robusta, and dial in grind and tamp for a consistent 25 to 30 second extraction.
Is crema supposed to taste good?
Crema alone is bitter and intense, but stirring it into your espresso before tasting integrates the trapped aromas and balances the overall flavor.
What causes pale or thin crema?
Pale or thin crema usually signals under-extraction or stale beans. Try grinding finer and switching to a fresher roast, since reading crema color and thickness is the fastest way to identify the problem.