TL;DR:
- Proper grind size is crucial for brewing the best coffee, as it directly affects extraction and flavor. Using a burr grinder with consistent particle size and precise adjustment leads to more predictable results than a blade grinder. Focus on technique, fresh beans, and taste-based dialing to improve home brewing regardless of equipment cost.
You bought excellent beans, followed the recipe, and still ended up with a cup that tasted flat, bitter, or watery. Sound familiar? The culprit is almost never the beans themselves. It is almost always the grind. Grinding is the single most controllable variable in home brewing, yet most guides skip past it in two sentences. This article walks you through every step: picking the right tools, matching grind size to your brew method, executing a consistent grinding technique, and troubleshooting flavor problems with confidence.
Table of Contents
- Essential tools and materials for grinding coffee beans
- How grind size impacts your favorite brew methods
- Step-by-step: How to grind coffee beans for optimal flavor
- Dialing in: How to troubleshoot and refine your grind
- The overlooked secret: Grind consistency over gadgets
- Upgrade your home brewing game with Z’s Coffee
- Frequently asked questions
Key Takeaways
| Point | Details |
|---|---|
| Choose a burr grinder | A burr grinder yields more consistent coffee grounds, improving extraction and flavor. |
| Match grind size to brew method | Select coarse, medium, or fine depending on whether you’re making French press, drip, or espresso. |
| Adjust by taste feedback | Fine-tune your grind using flavor cues—sour for too coarse, bitter for too fine. |
| Consistency over gadgets | Uniform grind and steady workflow beat expensive gear for better home coffee. |
| Troubleshoot incrementally | Make small adjustments and test each change for best results every time. |
Essential tools and materials for grinding coffee beans
Now that you know why grinding matters, let’s look at what you’ll need for the best results.
The most important piece of equipment you own, or should own, is your grinder. There are two main categories: blade grinders and burr grinders. A blade grinder works like a blender, spinning a metal blade that chops beans into uneven fragments. Some particles end up fine as dust, others as chunky as gravel. Burr grinders, on the other hand, crush beans between two abrasive surfaces (the burrs) set at a specific distance apart. Burr grinders produce fewer ultra-fine particles than blade grinders and allow you to adjust spacing precisely, which is why extraction is so much easier to control.
Here is a quick side-by-side comparison:
| Feature | Blade grinder | Burr grinder |
|---|---|---|
| Particle uniformity | Inconsistent | Very consistent |
| Grind size control | None | Precise, adjustable |
| Flavor consistency | Unpredictable | Repeatable |
| Price range | $10 to $30 | $30 to $300+ |
| Best for | Emergency use only | All serious brewing |
Beyond the grinder itself, you will want a few supporting tools:
- Fresh beans: Pre-ground coffee loses 60% of its aromatic compounds within 15 minutes of grinding, so whole beans are non-negotiable.
- A digital scale: Weighing beans to the gram (typically 1 gram per ounce of water as a starting ratio) removes guesswork completely.
- A grinder cleaning brush: Oils from beans go rancid and clog burrs over time, affecting flavor noticeably.
- An airtight container: Once ground, coffee goes stale fast. Store whole beans in a sealed, opaque container away from heat.
- A timer: Consistent grind duration matters more than most people realize, especially with manual grinders.
You can explore a full coffee accessories list to make sure your setup is complete before you start dialing in your grind.
Pro Tip: If you only have a blade grinder right now, pulse it in short 2-second bursts while gently shaking the grinder in a circular motion. This moves the beans around and produces slightly more even results than running it continuously. It is not a perfect fix, but it helps noticeably.
How grind size impacts your favorite brew methods
With tools ready, it is time to find the right grind for your favorite brew.
Every brewing method extracts coffee differently, which is why there is no single “correct” grind size. The core principle is straightforward: the longer water stays in contact with coffee, the coarser your grind should be. Immersion methods like French press keep grounds in water for 4 full minutes, so you need large particles that slow down extraction. Pressure-based methods like espresso push water through grounds in 25 to 30 seconds, so you need very fine particles to create enough resistance for proper extraction. Longer-contact methods need coarser grinds like French press, while pressure-based methods need fine grinds like espresso.
Use these tactile and visual cues to recognize your grind size without a machine readout:
| Brew method | Grind size | Visual reference | Feel |
|---|---|---|---|
| French press | Coarse | Sea salt crystals | Chunky, visible fragments |
| Cold brew | Extra coarse | Raw sugar crystals | Very chunky |
| Drip/pour-over | Medium | Table salt | Gritty but smooth |
| AeroPress | Medium-fine | Fine sand | Slightly powdery |
| Espresso | Fine | Powdered sugar (but coarser) | Smooth, slight clumping |
| Turkish coffee | Extra fine | Flour | Near-powder, silky |
Here is a step-by-step approach to choosing your grind:
- Identify your brew method. French press, drip, pour-over, espresso, AeroPress, or cold brew each has a distinct target range.
- Match to the table above. Start in the middle of the recommended range, not at the extremes.
- Set your grinder to the corresponding number. Most burr grinders have numbered settings from 1 (finest) to 10 or higher (coarsest).
- Grind a small test batch. About 10 grams works well for an initial check before committing a full dose.
- Look and feel the grounds. Compare to your tactile reference. Adjust one notch at a time if something looks off.
- Brew and taste. Taste is the final judge, not appearance alone.
For drip coffee specifically, there is a nuance that many people miss. Filter basket shape affects extraction as much as grind size in drip brew coffee, according to research from the Specialty Coffee Association. A flat-bottomed basket holds water differently than a cone-shaped basket, which means the same grind size can taste noticeably different depending on your machine. If you switched brewers and your old grind setting suddenly tastes off, the basket shape may be why.
Want more depth on enhancing coffee flavor across your whole setup? It connects directly to grind technique. You can also check our detailed home brewing guide for method-specific parameters, or go deep on our espresso brewing guide if espresso is your main focus.
Pro Tip: When switching between brew methods, always run a small “purge grind” of about 5 grams through your burr grinder after adjusting settings. The first grounds that come through after a setting change often contain residue from the previous size, which can skew your results.
Step-by-step: How to grind coffee beans for optimal flavor
Now that you know what grind you need, let us walk through the grinding process itself.
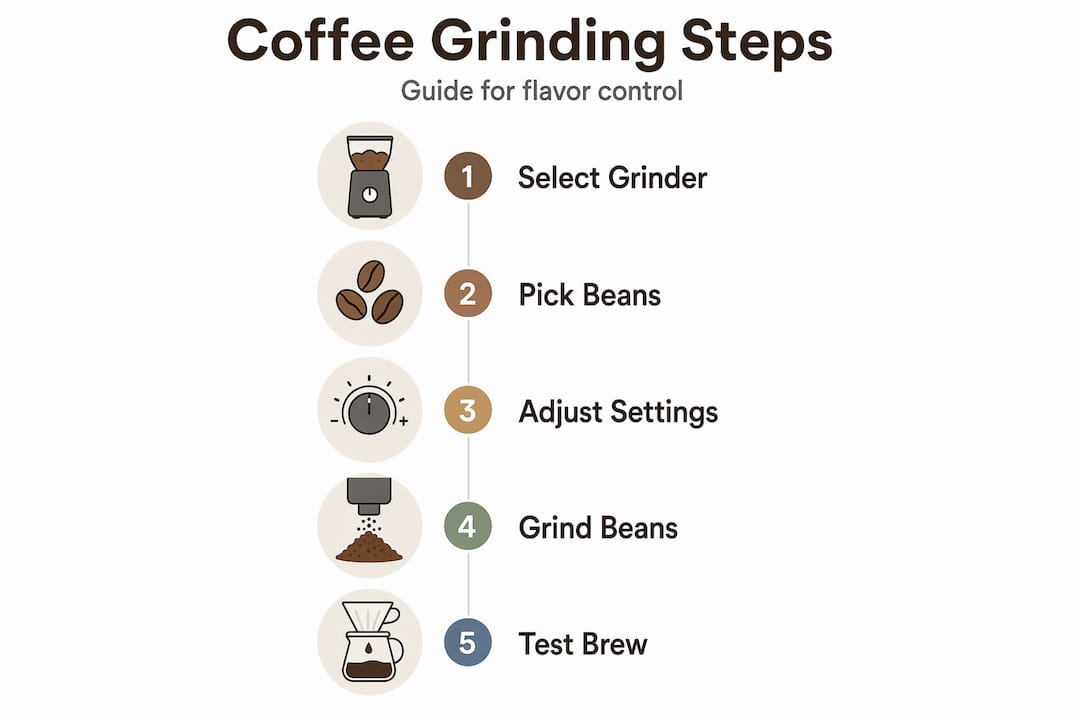
Whether you use an electric burr grinder or a manual hand grinder, the core workflow is the same. Consistency and attention at each step are what separate a great cup from an average one.
- Measure your beans first. Weigh them before grinding. Most methods use roughly 15 to 18 grams per 250 ml of water, but follow your recipe. Never eyeball it.
- Set your grinder before loading beans. Adjusting while beans are already in the chamber can cause inconsistent grinds during the transition between settings.
- Check your burr spacing. For manual grinders, set burr spacing according to brew method and adjust in small increments, turning the adjustment collar only one notch at a time. For electric grinders, use the numbered dial.
- Load beans and begin grinding. For electric grinders, let the machine do the work. For manual grinders, use a steady, controlled circular motion rather than fast, jerky cranking. Speed matters: slow and steady produces a more uniform particle distribution.
- Check the grounds immediately after. Pour a small amount onto a white sheet of paper and look for uniformity. You should see mostly same-sized particles with very few outliers in either direction.
- Transfer grounds to your brewing vessel promptly. Do not let grounds sit in the open air. Every minute counts in terms of freshness.
- Clean your grinder. Brush out the chamber after every use with a dry cleaning brush. Oils accumulate fast and turn rancid within days.
“The biggest mistake home brewers make is adjusting their grinder too aggressively. One notch at a time, then taste before you move again.” This disciplined approach is the fastest way to actually improve your cup.
Getting better at coffee extraction is directly tied to how well you control this grinding process. Even a modest grinder, used with careful technique and consistent measurements, will outperform an expensive one used sloppily.
Pro Tip: Cold beans grind slightly differently than room-temperature beans. If you store your beans in the freezer (which works well for long-term storage in airtight bags), let them come to room temperature for 10 to 15 minutes before grinding to avoid condensation inside your grinder chamber.
Dialing in: How to troubleshoot and refine your grind
Grinding is part art, part science. Here is how to perfect your results with real-world feedback.
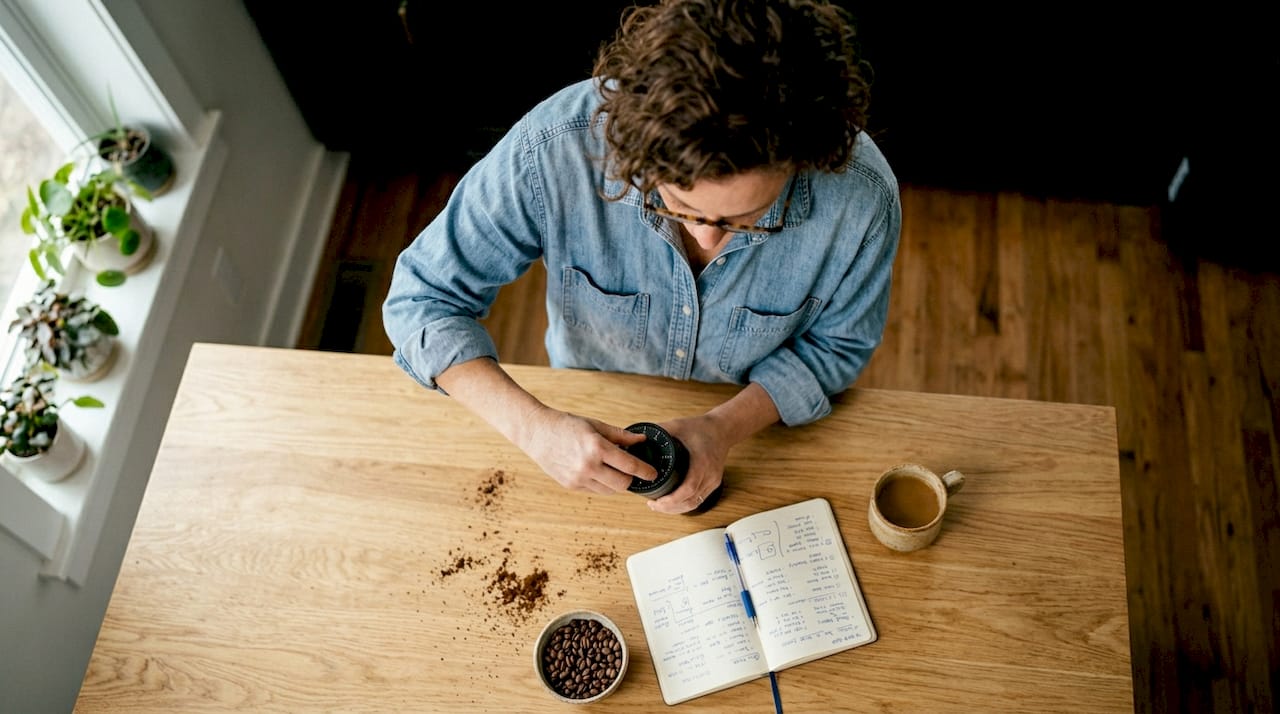
No matter how carefully you follow the steps above, the first brew from a new bag of beans or a new grinder setting will rarely be perfect. That is completely normal. Dialing in means using taste as your feedback system to zero in on the ideal setting for that specific bean, roast level, and method.
Here are the main flavor signals and what they tell you:
- Sour, sharp, or underdeveloped flavor: Your grind is too coarse. Water passed through too quickly, extracting only the lighter acids without reaching the sweetness and body underneath. Grind finer by one notch.
- Bitter, harsh, or dry aftertaste: Your grind is too fine. Water moved too slowly, pulling out the astringent compounds that should stay in the grounds. Grind coarser by one notch.
- Flat, thin, or hollow flavor: Often a sign of too coarse a grind combined with under-dosing. Try both grinding finer and increasing your coffee dose slightly.
- Muddy, heavy, or gritty texture: Usually means grind is too fine for your method, especially with French press or cold brew. Go coarser.
- Balanced sweetness with a clean finish: You are in the right zone. Lock in that setting and record it.
Sour cups mean grind too coarse, while bitter cups mean grind too fine. Memorizing this one rule will solve 80% of your brewing problems.
“Grind consistency is about controlling the whole particle size distribution, not just the average.” Minimizing grind variance is the real goal, meaning fewer outlier particles at either the fine or coarse extreme.
To refine your process over time:
- Keep a simple brew journal. Note bean name, roast date, grinder setting, dose, water temperature, and tasting notes. A few entries reveal patterns fast.
- Make one change at a time. If you adjust both your grind and your water temperature in the same brew, you will not know which change caused the difference.
- Re-dial every time you open a new bag. Even the same coffee from the same roaster can behave differently across roast batches.
Learning to taste coffee for grind adjustment is a skill that improves quickly with practice. And if you want to tackle the bigger picture, our guide on how to fix coffee brewing mistakes covers the full range of common errors beyond just grind.
Pro Tip: After adjusting your grind setting, always discard the first full dose you grind. Residual grounds from the previous setting skew the results and make it harder to evaluate the adjustment accurately.
The overlooked secret: Grind consistency over gadgets
After mastering troubleshooting, it is worth reconsidering what really makes coffee shine at home.
There is a relentless upgrade culture in the coffee world. Forums fill up with arguments over which $400 grinder produces marginally better particle distribution than a $350 one. Roasters post about burr geometry. Enthusiasts obsess over single-dose workflows. It can feel like good coffee is always one expensive purchase away.
Here is the honest truth: technique and consistency beat equipment at almost every price point under $200. A $60 burr grinder used with disciplined measurements, clean equipment, fresh beans, and careful taste-based adjustment will produce better coffee than a $300 grinder used carelessly with stale beans and no attention to extraction feedback.
What actually moves the needle is understanding particle size distribution. When your grinder produces mostly same-sized particles with very few fines (very tiny particles) or boulders (oversized chunks), extraction becomes predictable. You can adjust confidently because the grind behaves uniformly. This matters far more than whether your burrs are flat or conical.
The coffee processing methods used before beans reach your grinder also shape flavor deeply, which is why even a consistent grind cannot fully compensate for buying poor-quality beans. So the real formula is this: start with quality beans, use a clean burr grinder with consistent technique, dial in using taste, and only upgrade your equipment when your process is solid and you are hitting the ceiling of what your current grinder can do.
Patience with the process will get you further than any single purchase.
Upgrade your home brewing game with Z’s Coffee
Once you have fine-tuned your grinding technique, the rest of your brew setup matters too.
At Z’s Coffee, we stock everything that makes the grind-to-cup experience work at home: freshly sourced whole beans, practical brewing accessories, and everyday essentials that hold up to daily use.

Explore our coffee and tea selection to find beans that reward careful grinding, whether you brew espresso, French press, or pour-over. If you are on the move, our travel mug with a handle keeps your freshly brewed coffee at the right temperature wherever you go. For days when the grinder stays on the shelf, our instant coffee delivers convenience without sacrificing flavor. Z’s Coffee ships globally so that coffee enthusiasts everywhere can access quality products that match the technique you have just built.
Frequently asked questions
Why does burr vs blade grinder matter so much?
Burr grinders produce more uniform particles with adjustable spacing and fewer ultra-fines, which allows for even extraction and balanced flavor, while blade grinders create inconsistent sizes that produce uneven, unpredictable brews.
How do I know if my grind size is correct for my brewing method?
Start with the recommended texture for your method, brew, and taste: sour means adjust finer, bitter means adjust coarser, one notch at a time.
Does the shape of my drip basket affect which grind size I should use?
Yes, basket shape affects extraction in drip brewing and can make small grind size differences less noticeable, so switching machines may require re-dialing your grind.
How do I adjust a manual grinder for different methods?
Set burr spacing by small increments to match the recommended grind for your brew method, grind a small test batch, and check consistency before committing to a full dose.
Is it worth investing in an expensive grinder for home use?
A quality burr grinder definitely helps, but careful technique, fresh beans, and dialing in your process through taste-based feedback matter more than price for most home coffee enthusiasts.